
Download Cline Desktop
Download Cline Desktop for macOS or Windows. Windows support is currently in beta.
Getting started
To start using Cline Desktop:- Open the workspace you want Cline to work with, and select the branch you want the session to use.
- Select the provider and model of your choice.
- Start a new session and describe the task you want Cline to complete.
- Access 300+ models through the Cline provider
- Use open-weight models through ClinePass
- Connect supported providers with your own API keys
- Run supported local models, or
- Continue tasks from Claude Code and Codex with an open-weight model.
You can also get started with the free models available in Cline without connecting a paid provider. The available free models can change over time, so check the app for the current options.
Use Cline Desktop for coding and non-coding tasks
Cline Desktop gives you a workspace for running different kinds of agent work side by side. Keep coding, research, documentation, and recurring tasks in separate sessions so each retains its own context. For example, you can have one agent implement a feature while another researches an API, reviews documents, prepares a report, or tracks changes over time.What you can do in Cline Desktop
1. Import workflows from other agents
If you already have context in another coding agent, you can import that workflow into Cline instead of starting from scratch. Cline Desktop supports importing conversations from supported agents such as Claude Code and Codex. To import a workflow:- Open the Import section in Cline Desktop settings.
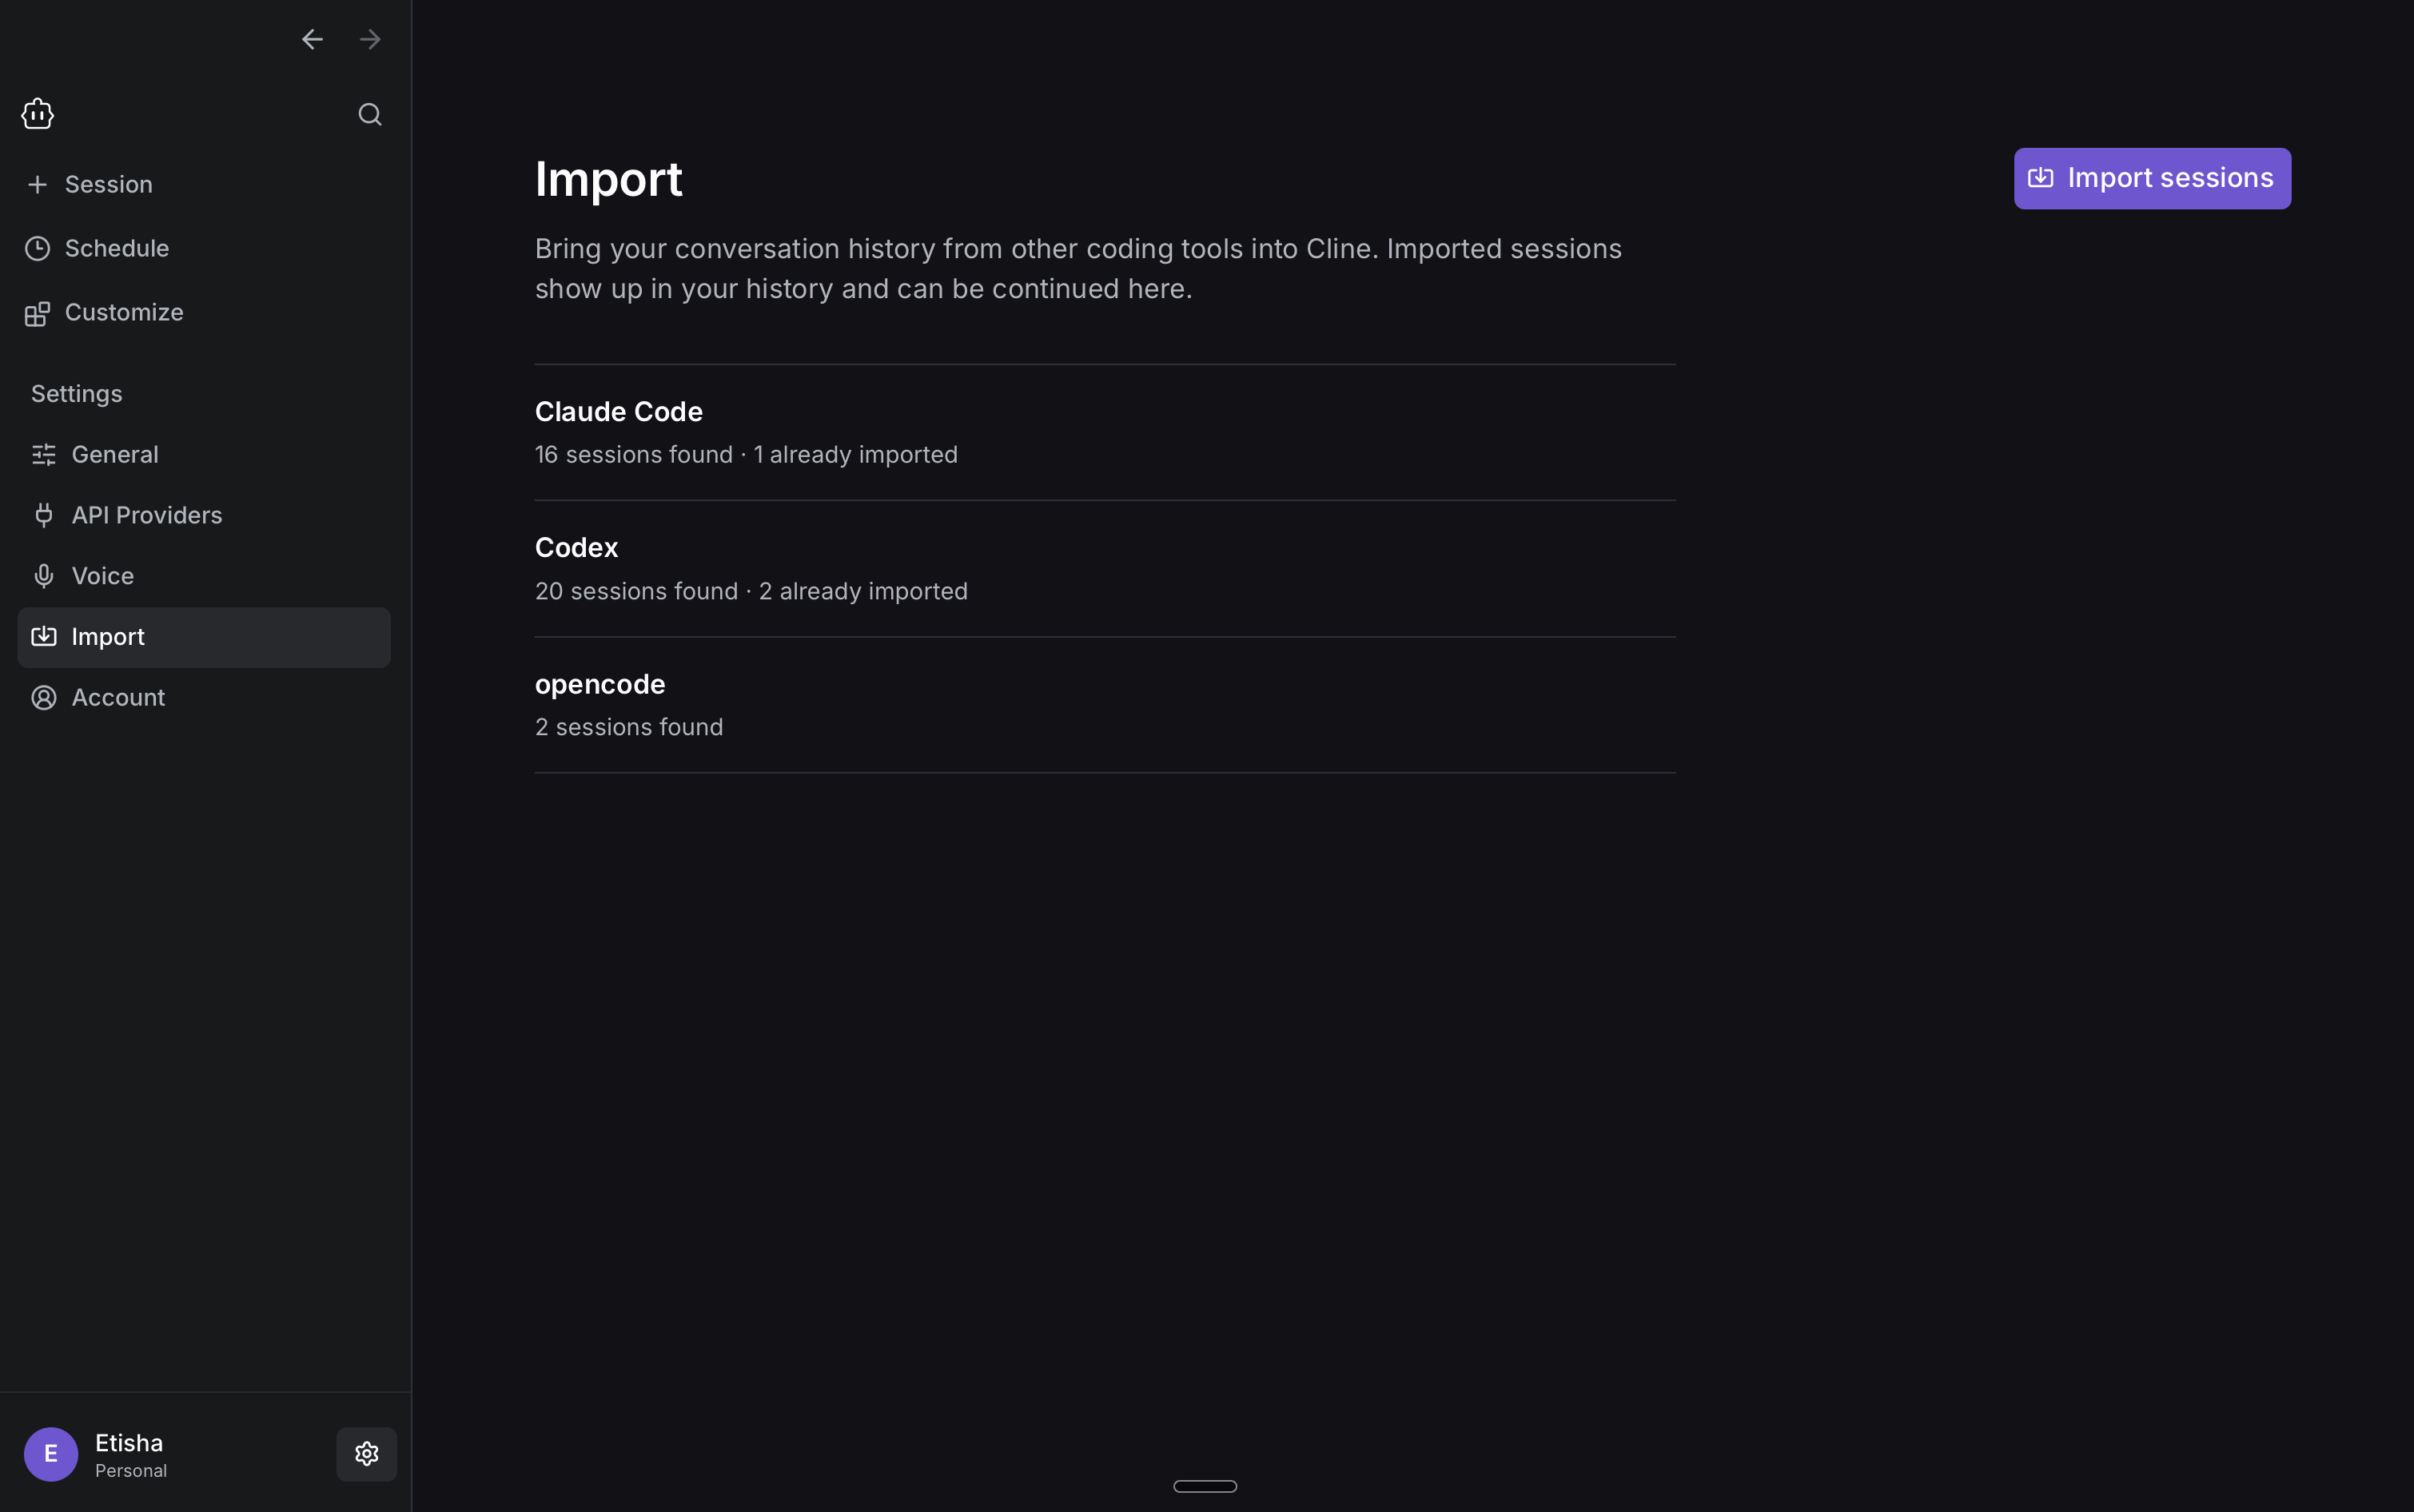
- Click on Import Sessions and choose the conversation you want to bring into Cline.
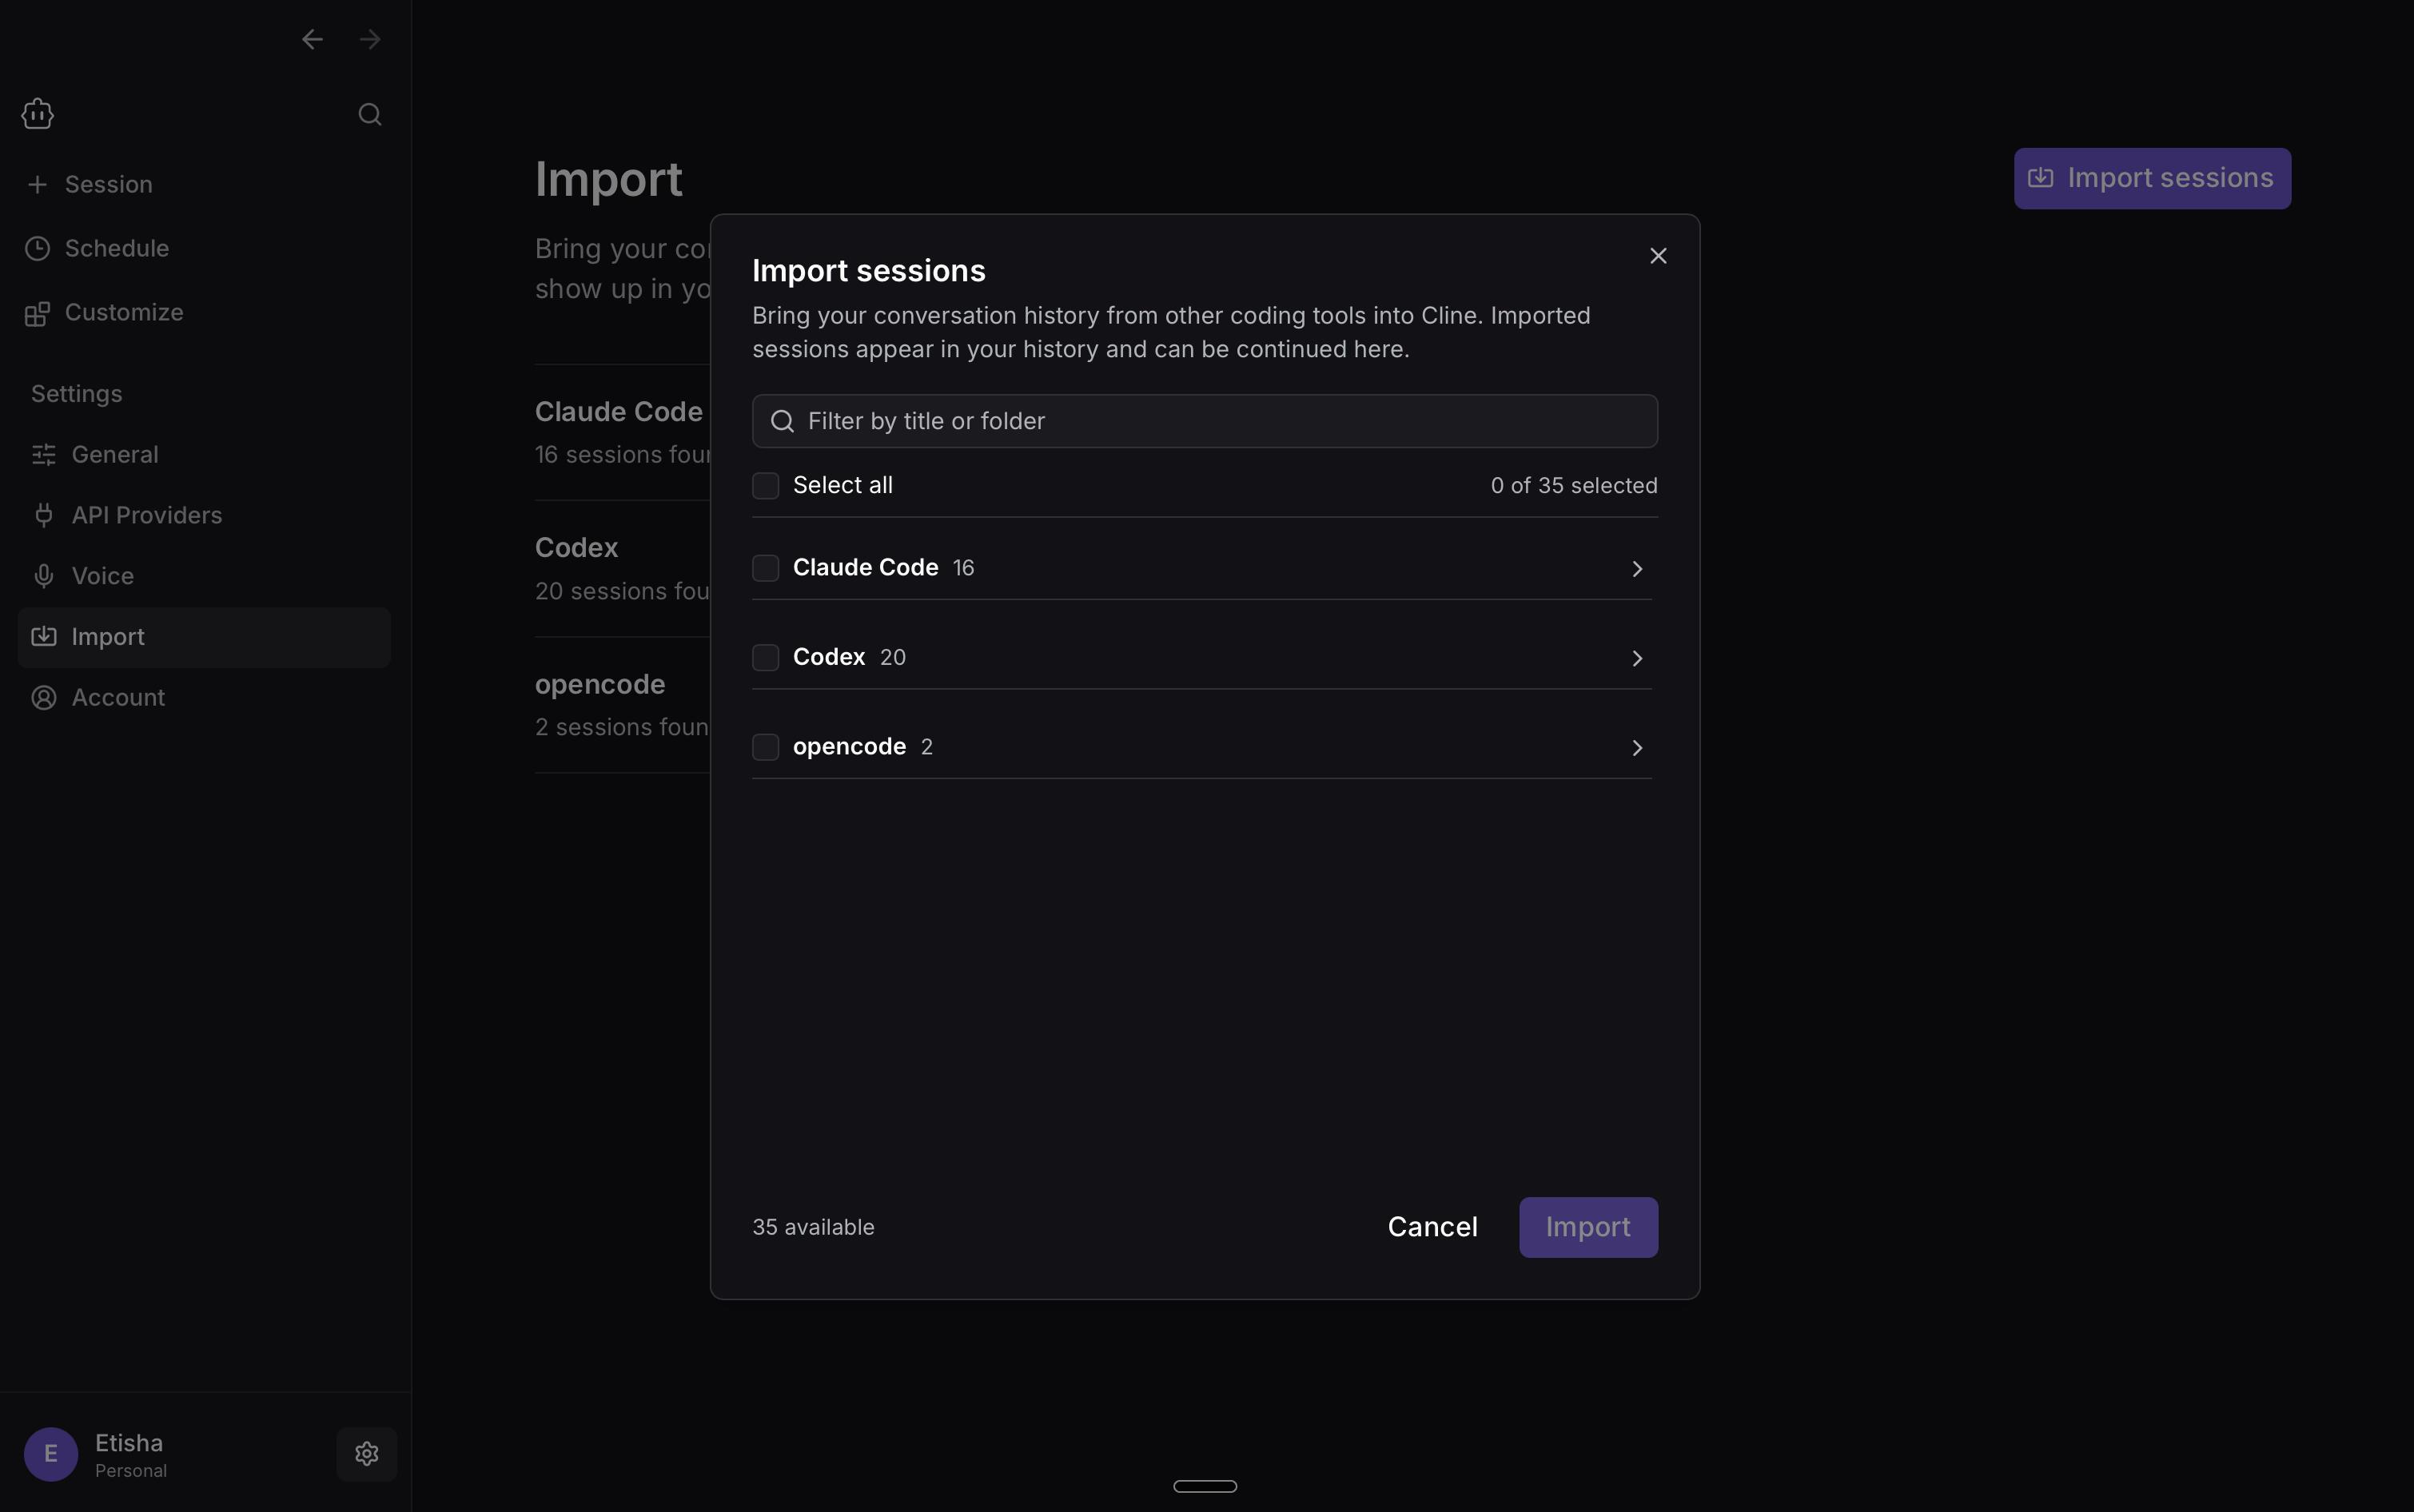
- Import the selected conversation.
- Open the imported session and continue with your next instruction.
2. Automate recurring work with Schedule
Schedule lets Cline run agent tasks automatically at a specific time or on a recurring schedule. You can use it for work you would otherwise need to start manually, such as morning PR review, a nightly repo check, or a weekly documentation update.Create a schedule from the UI
To create a schedule:- Open Schedule in Cline Desktop.
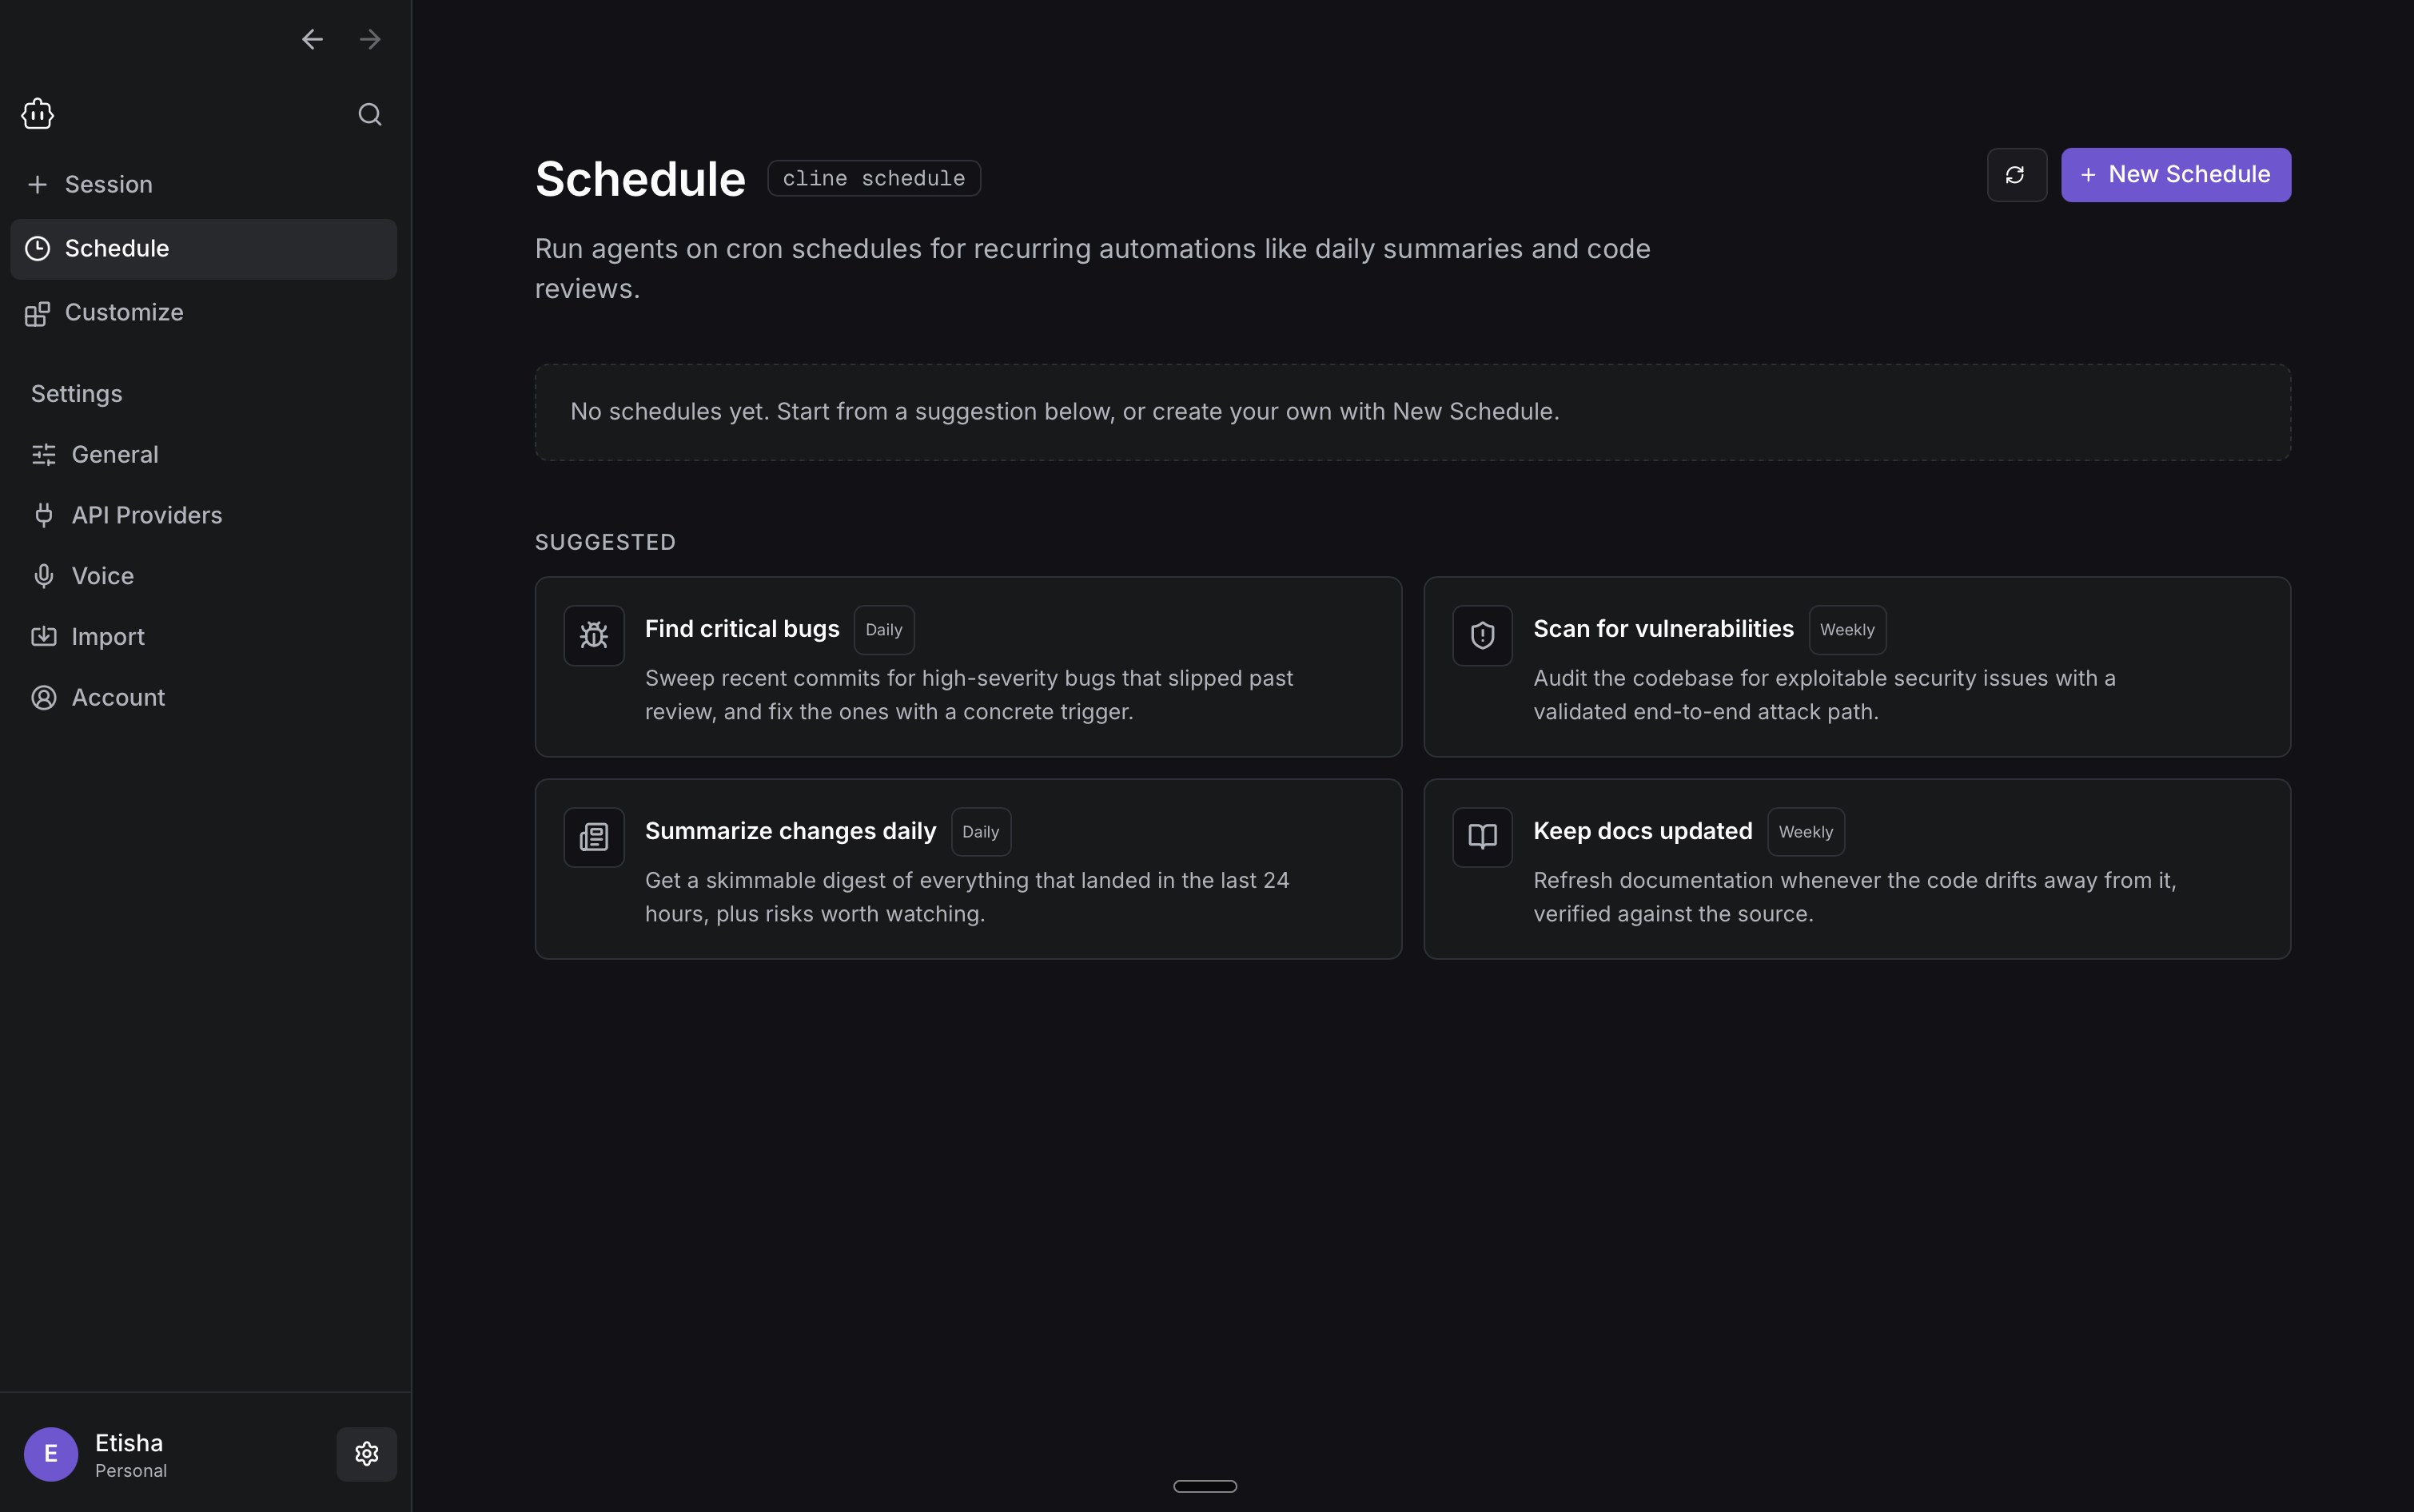
- Configure the schedule:
- Give it a name.
- Choose the frequency, date, and time.
- Enter the prompt Cline should run.
- Select the provider, model, and workspace.
- Optionally add a system prompt, timeout, or tags.
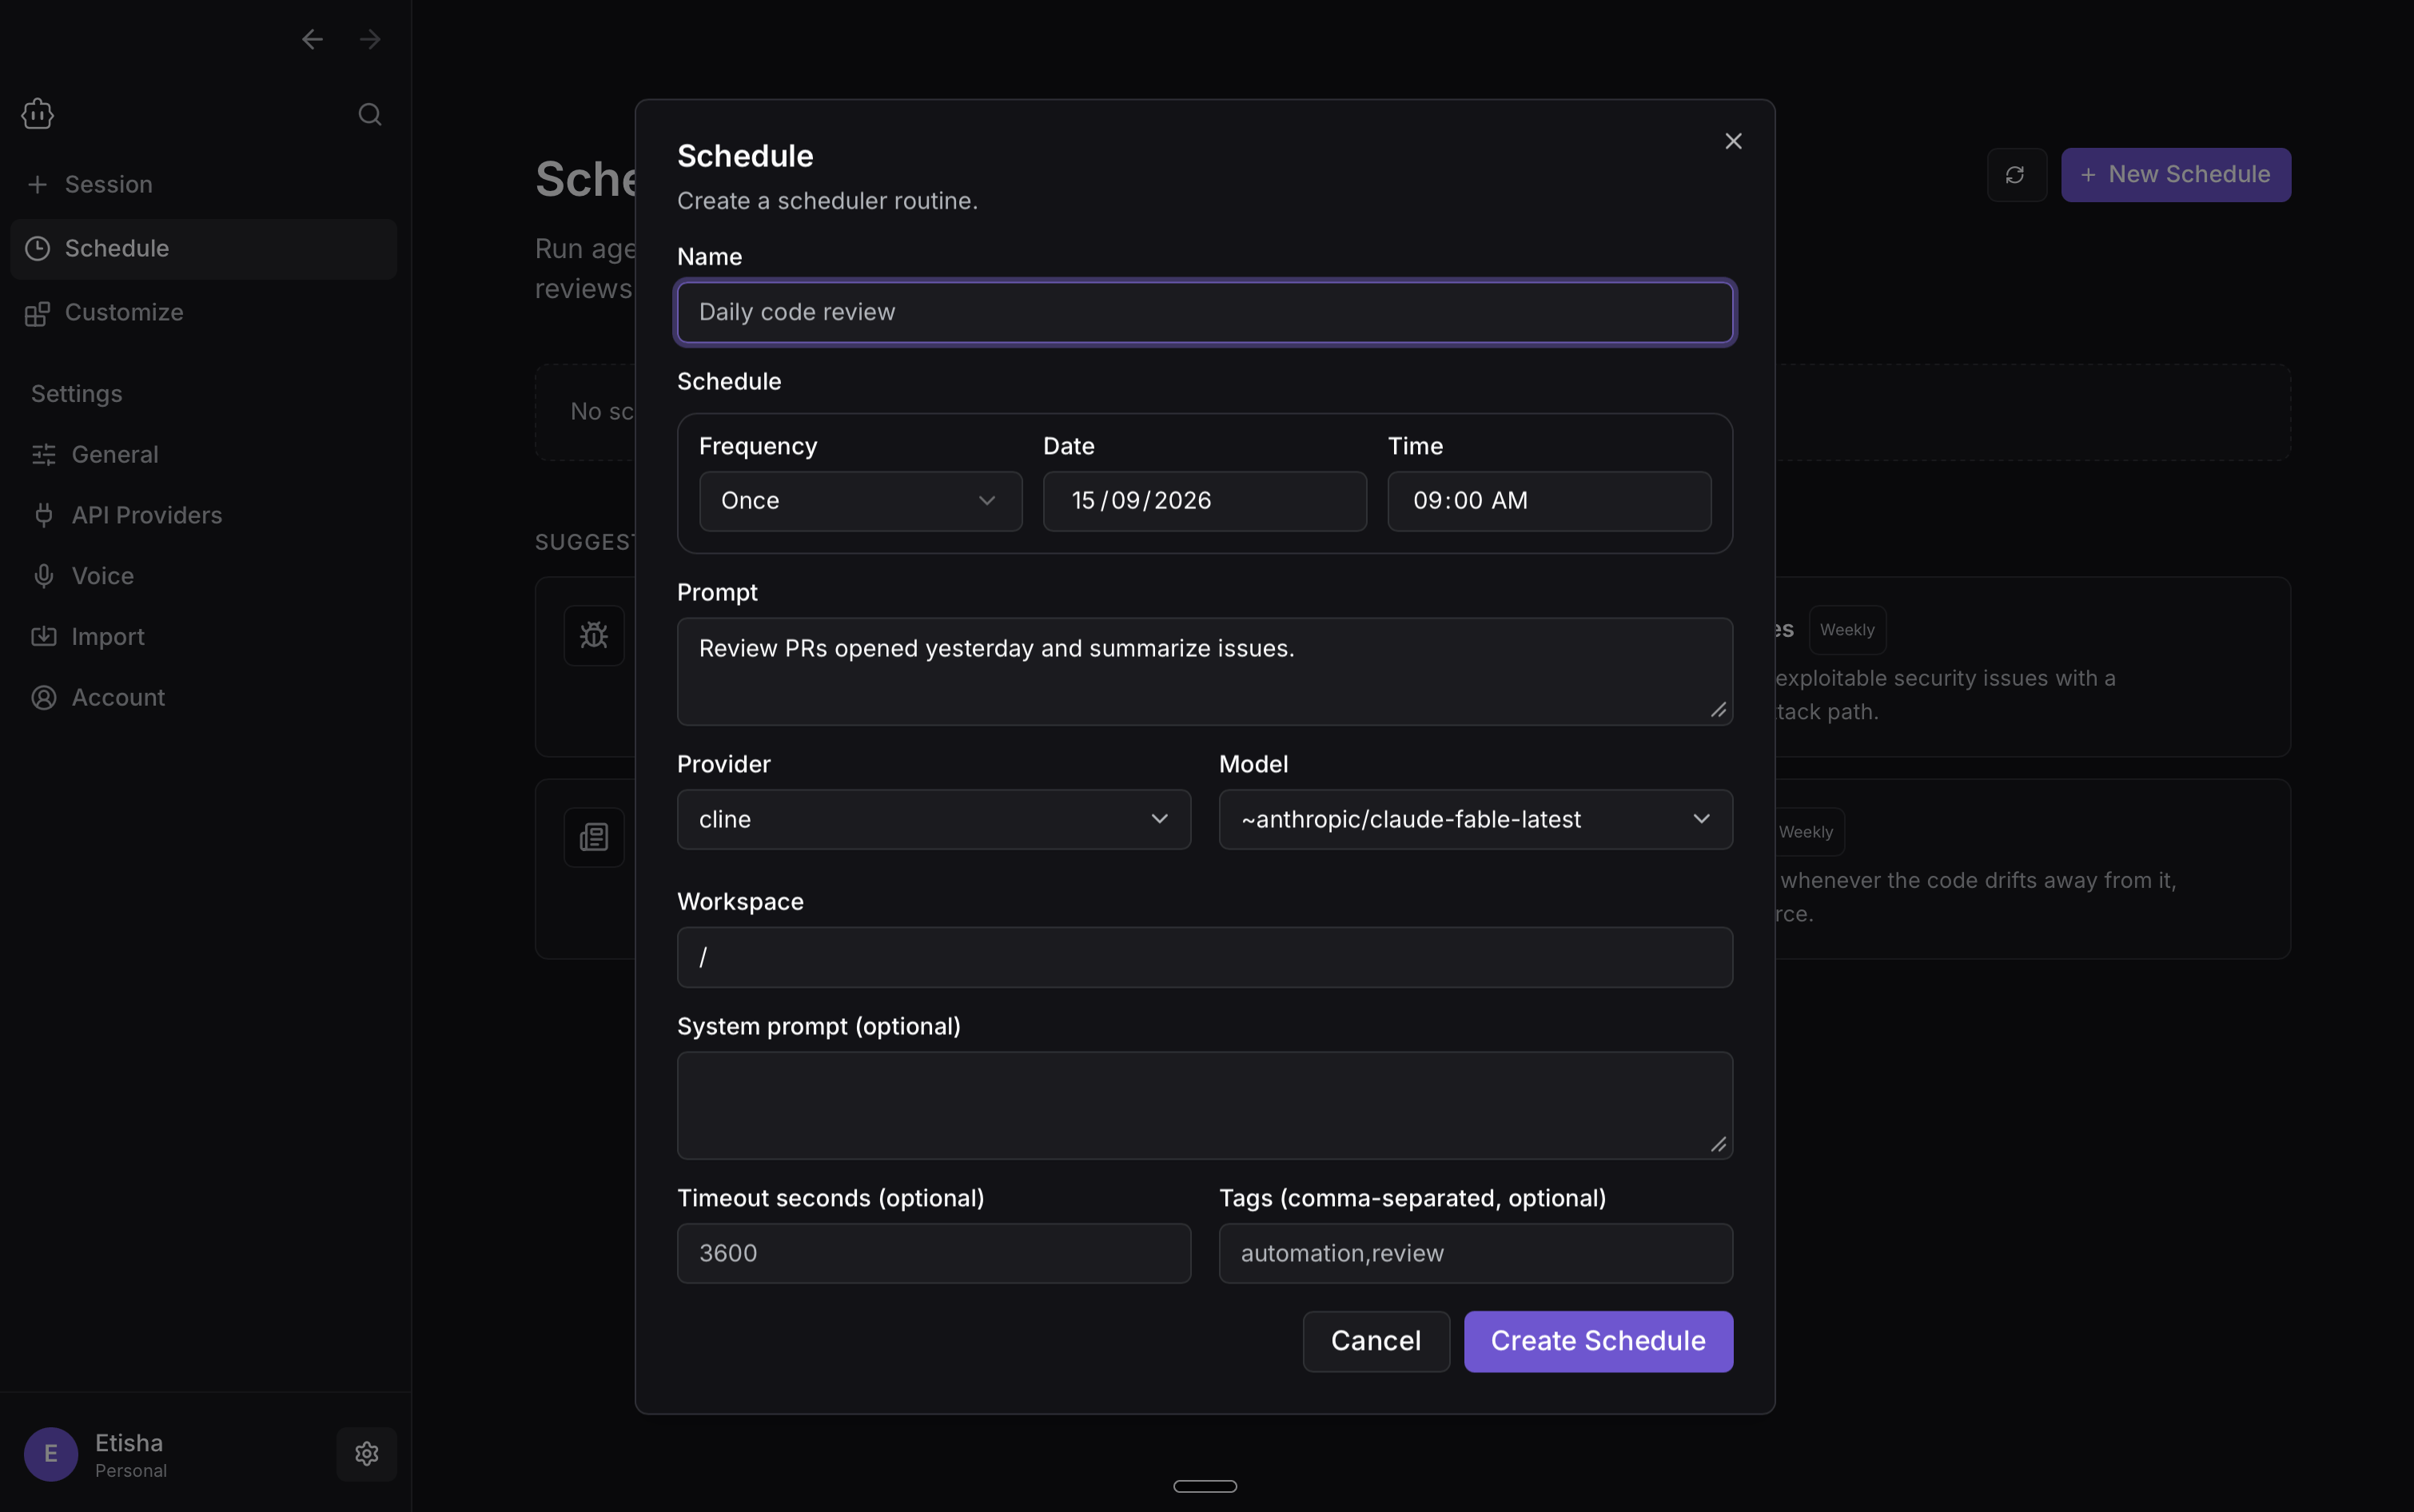
- Save the schedule.
Create a schedule from a conversation
You can also create a schedule by describing the automation directly to Cline. For example:Set up a daily automation that reviews new issues and pull requests in this repository and gives me a summary of anything that needs my attention.This is useful when you already know what you want to automate and would rather describe it naturally than configure the schedule manually.
3. Use web search
Cline Desktop can use web search to bring current information into a task, such as checking documentation, researching a topic, or comparing options. Web search is enabled by default for new sessions. You can manage it from Settings using the Web Search toggle.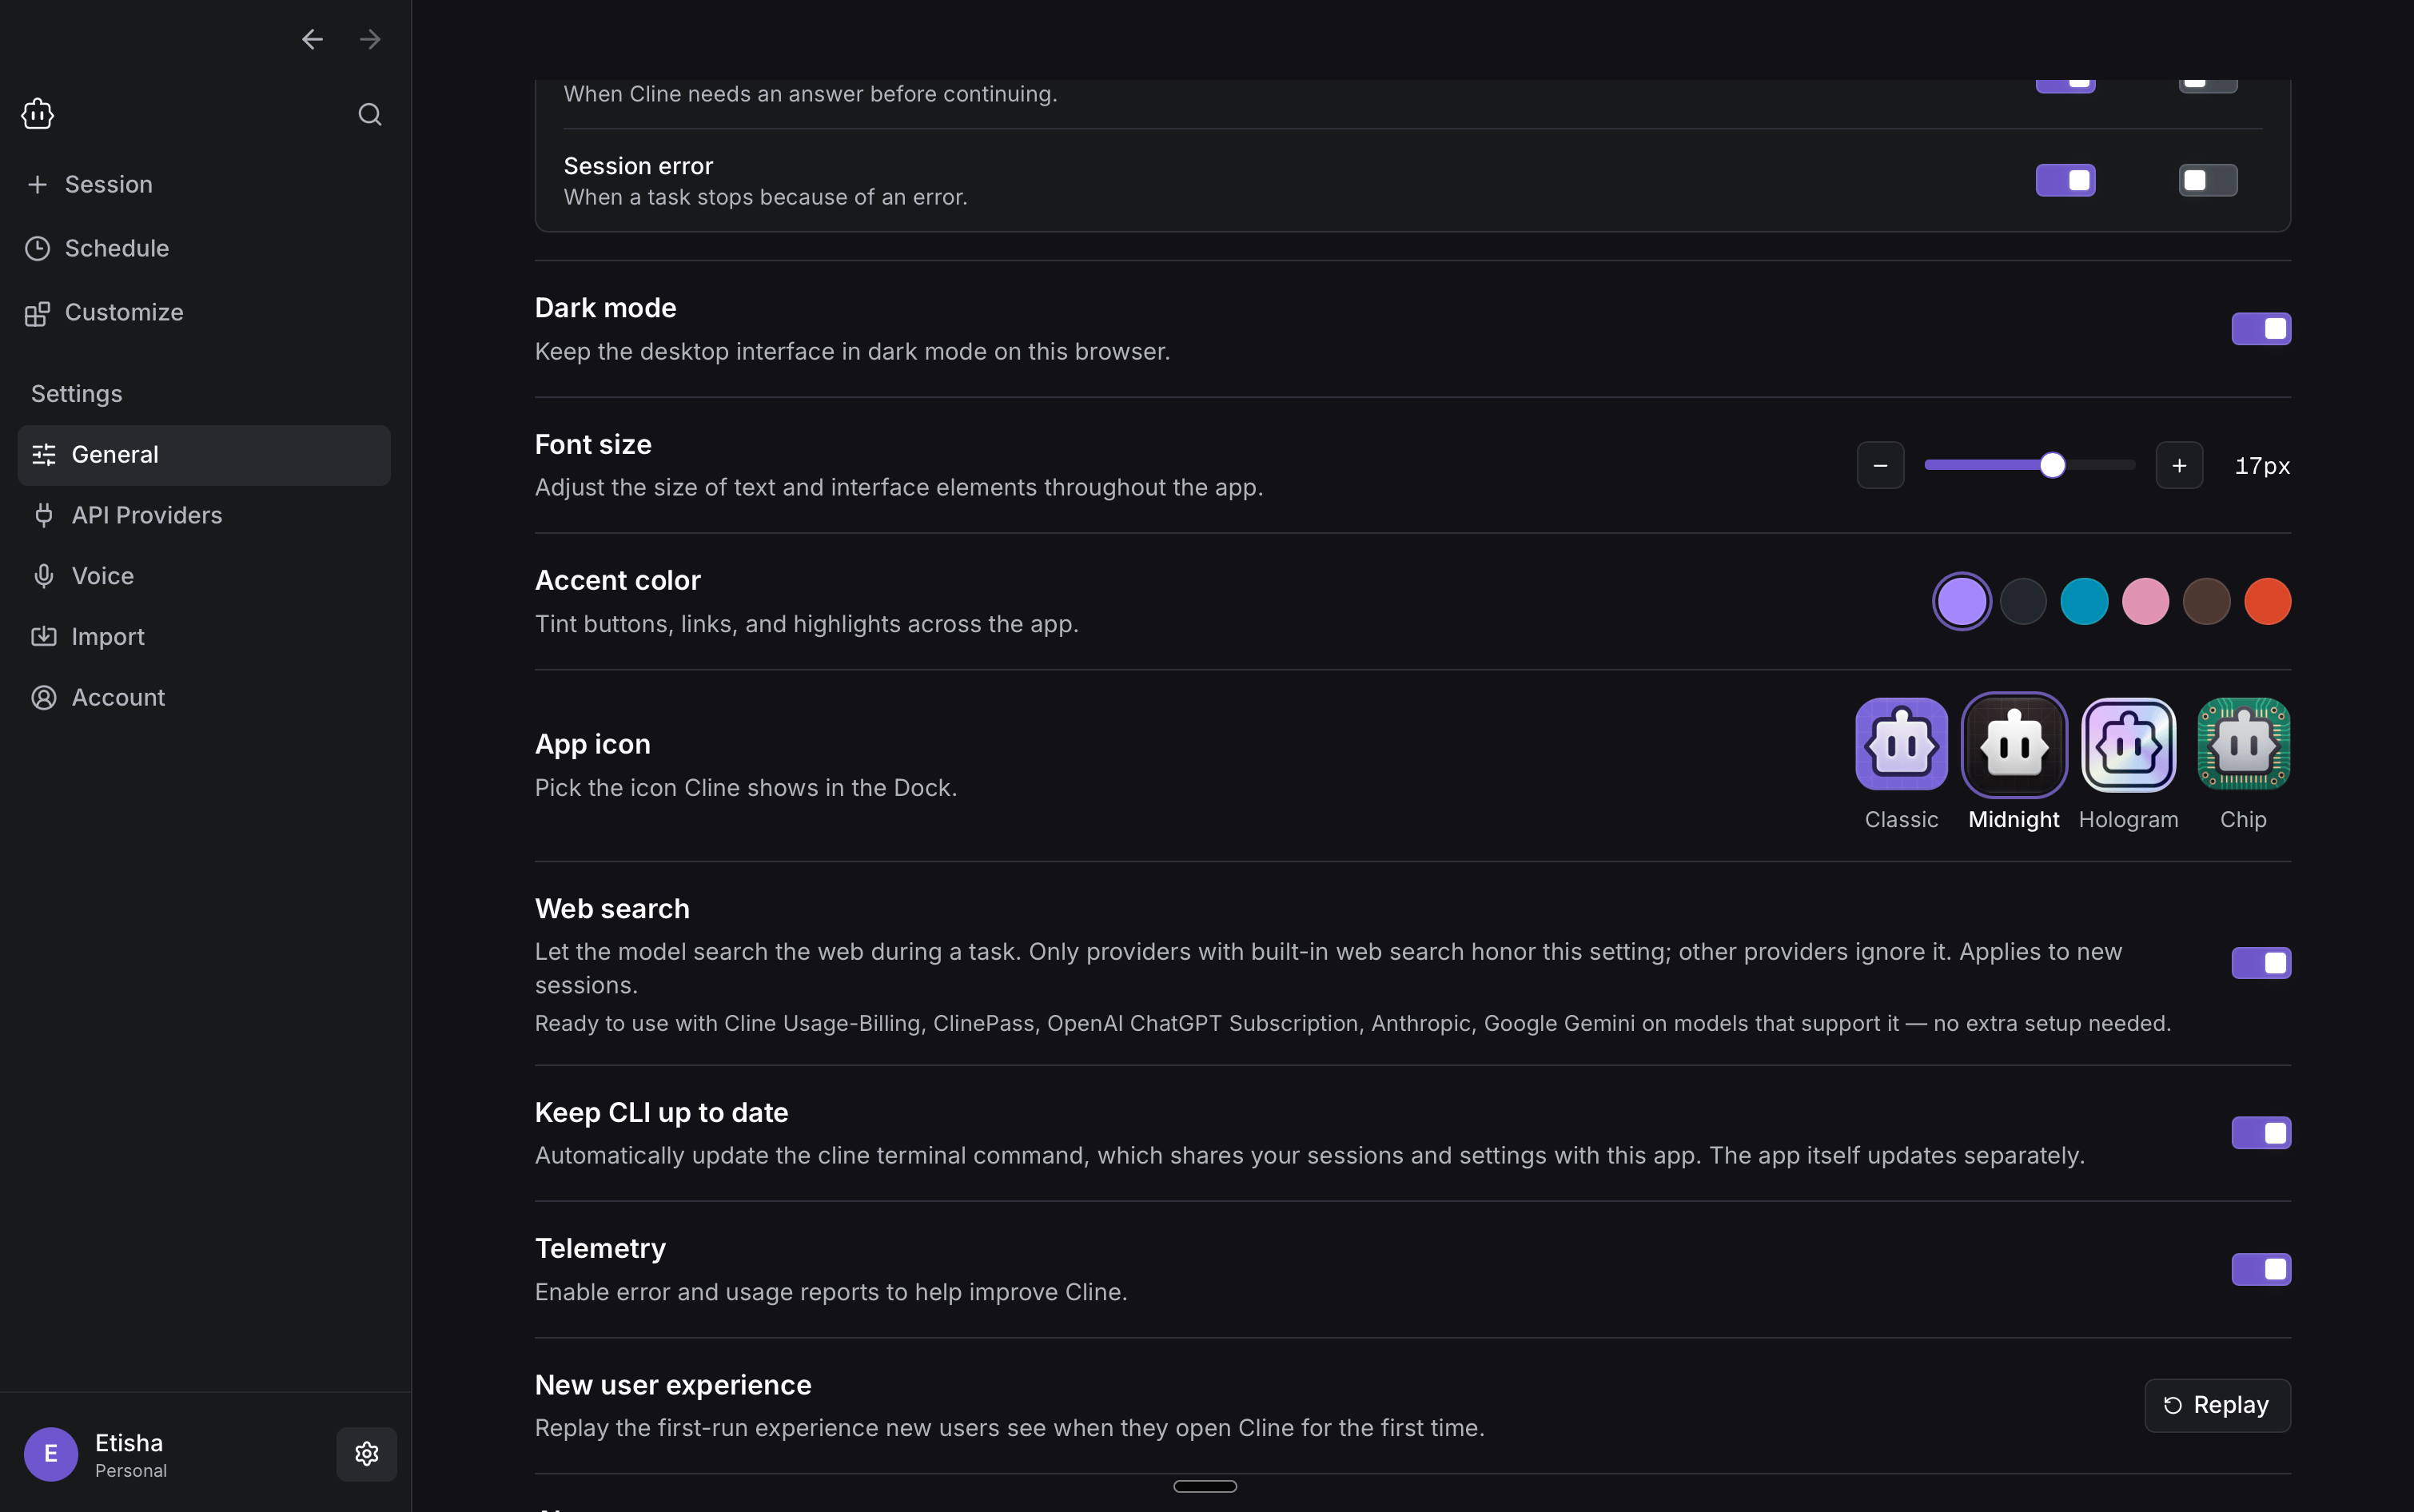
Only providers with built-in web search honor this setting. Other providers ignore it. Changes to this setting apply to new sessions.
- Cline (usage billing)
- ClinePass
- OpenAI subscription
- Anthropic
- Google Gemini
4. Use voice input
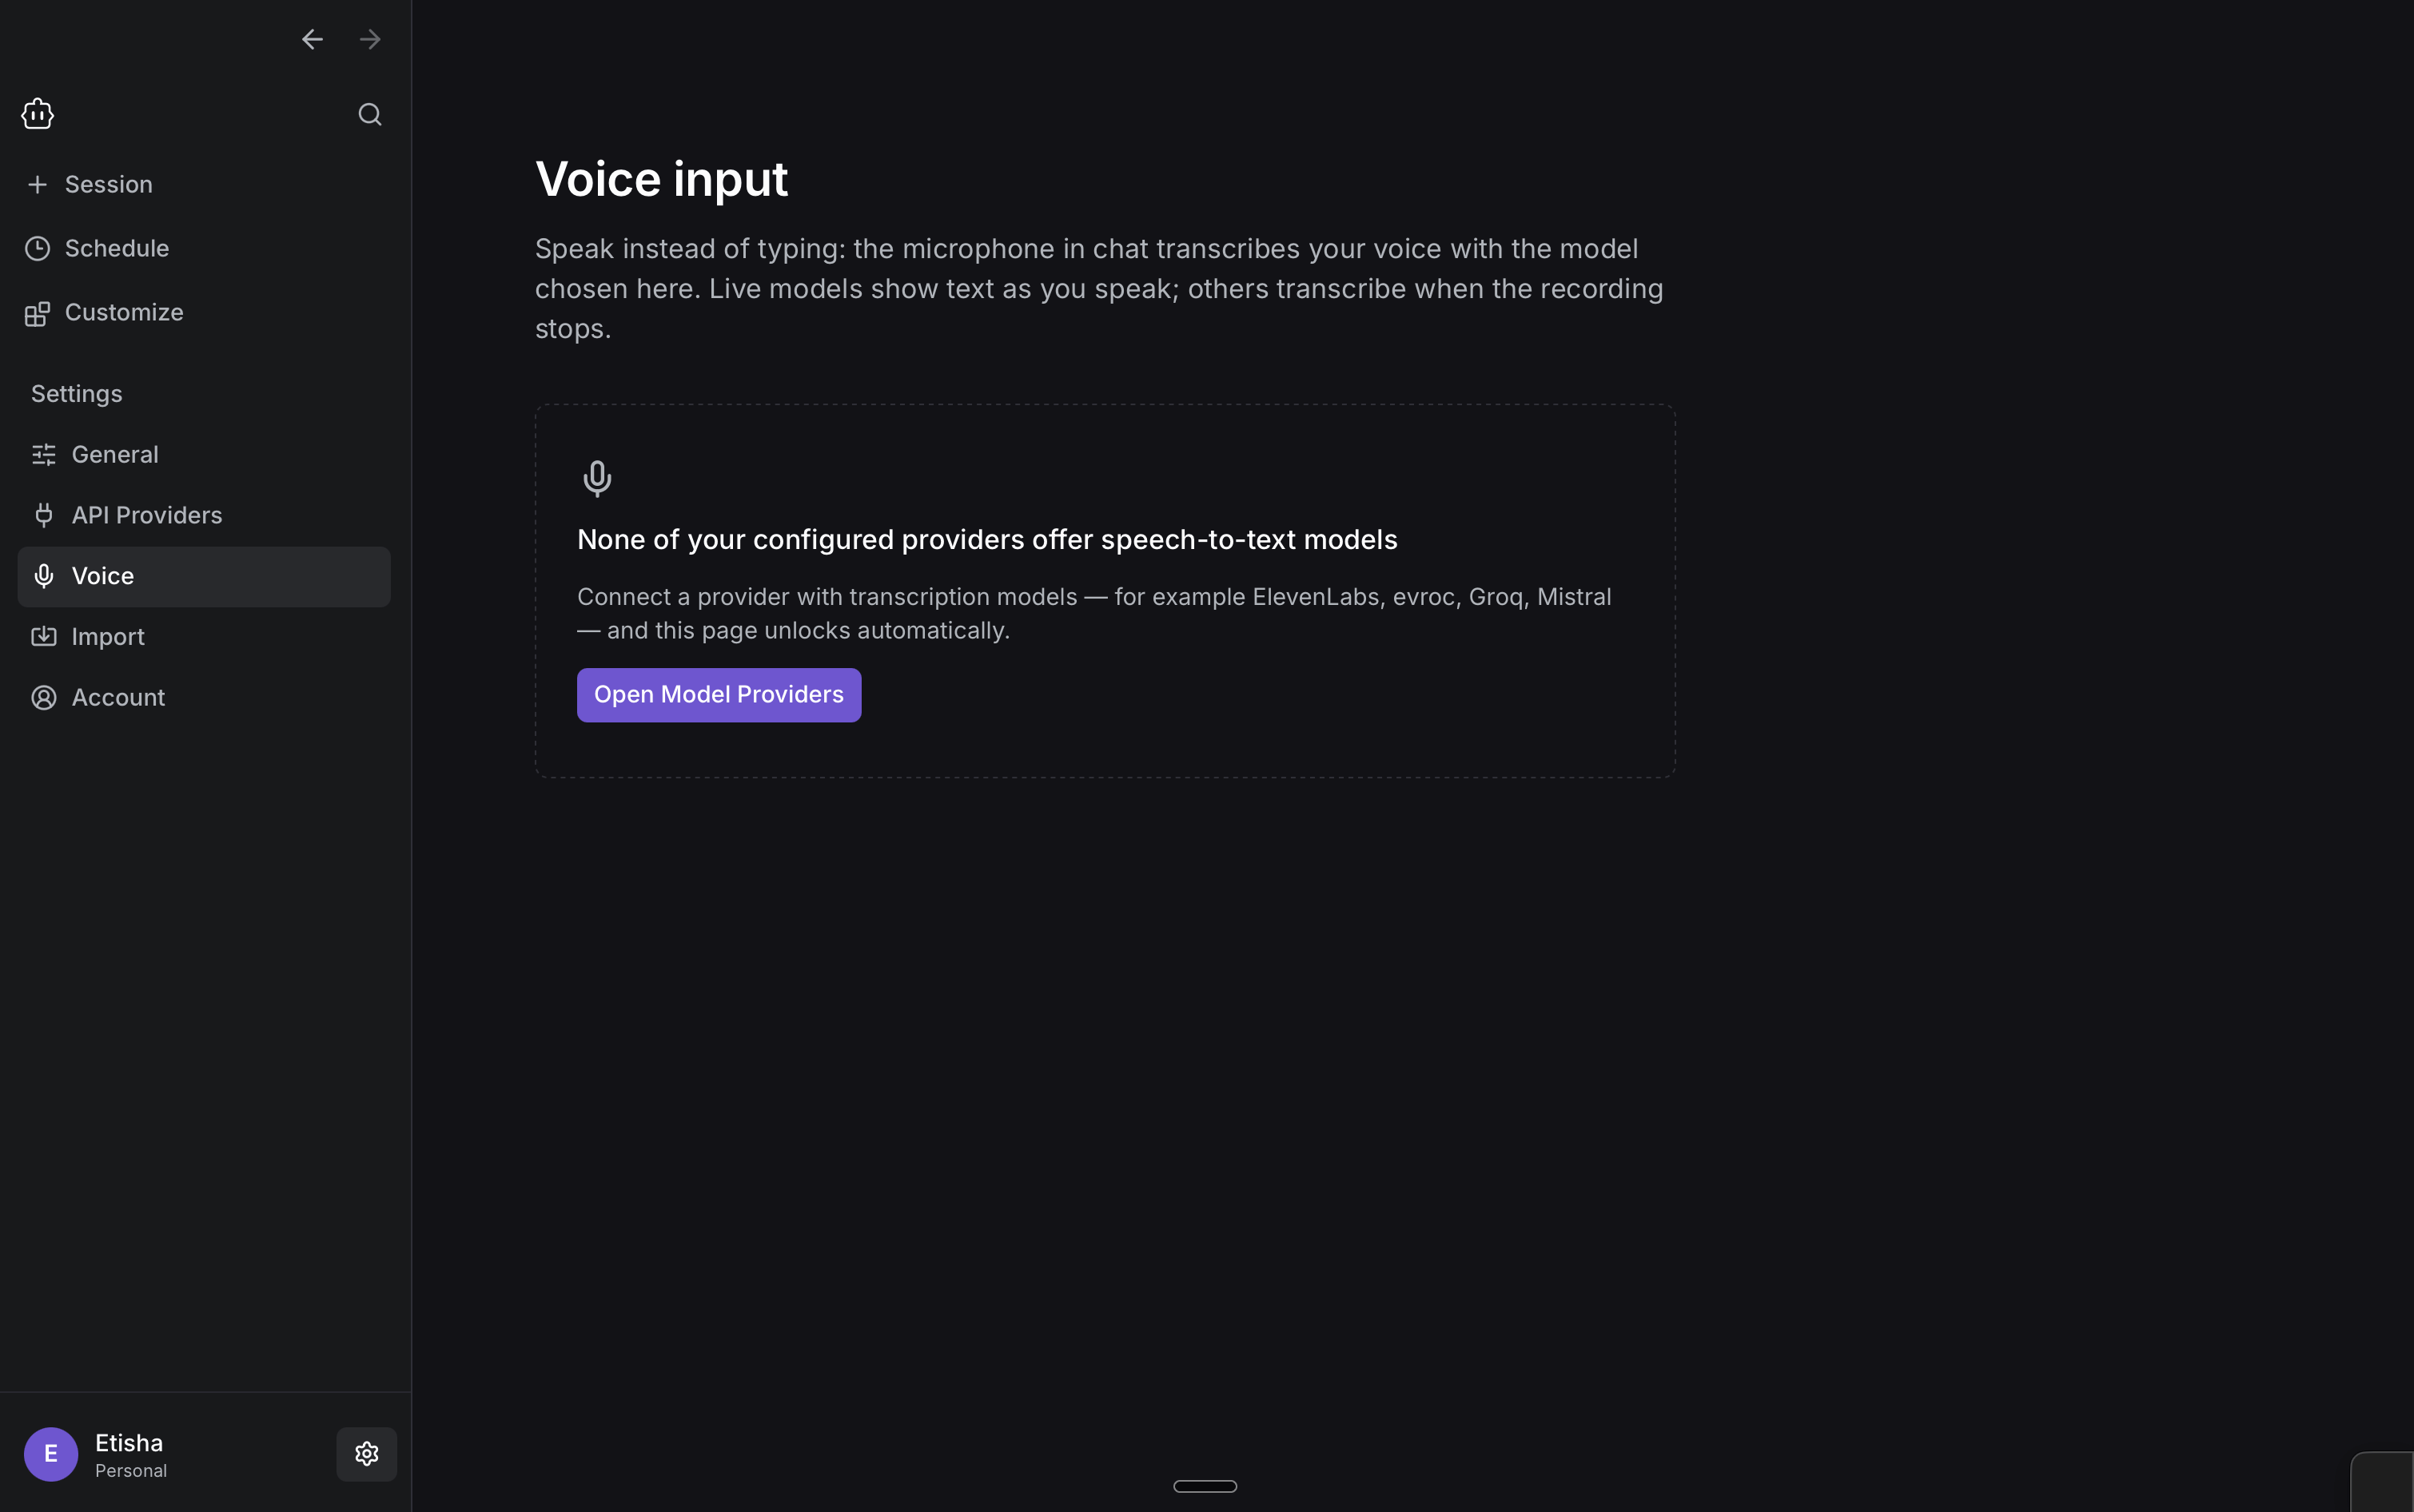
Voice input lets you speak your prompt instead of typing it. This is useful for longer instructions, talking through a problem, or quickly getting an idea into Cline. Voice input requires a compatible speech-to-text provider. To set it up:- Open the Voice Input in Cline Desktop settings and select Open Model Providers.
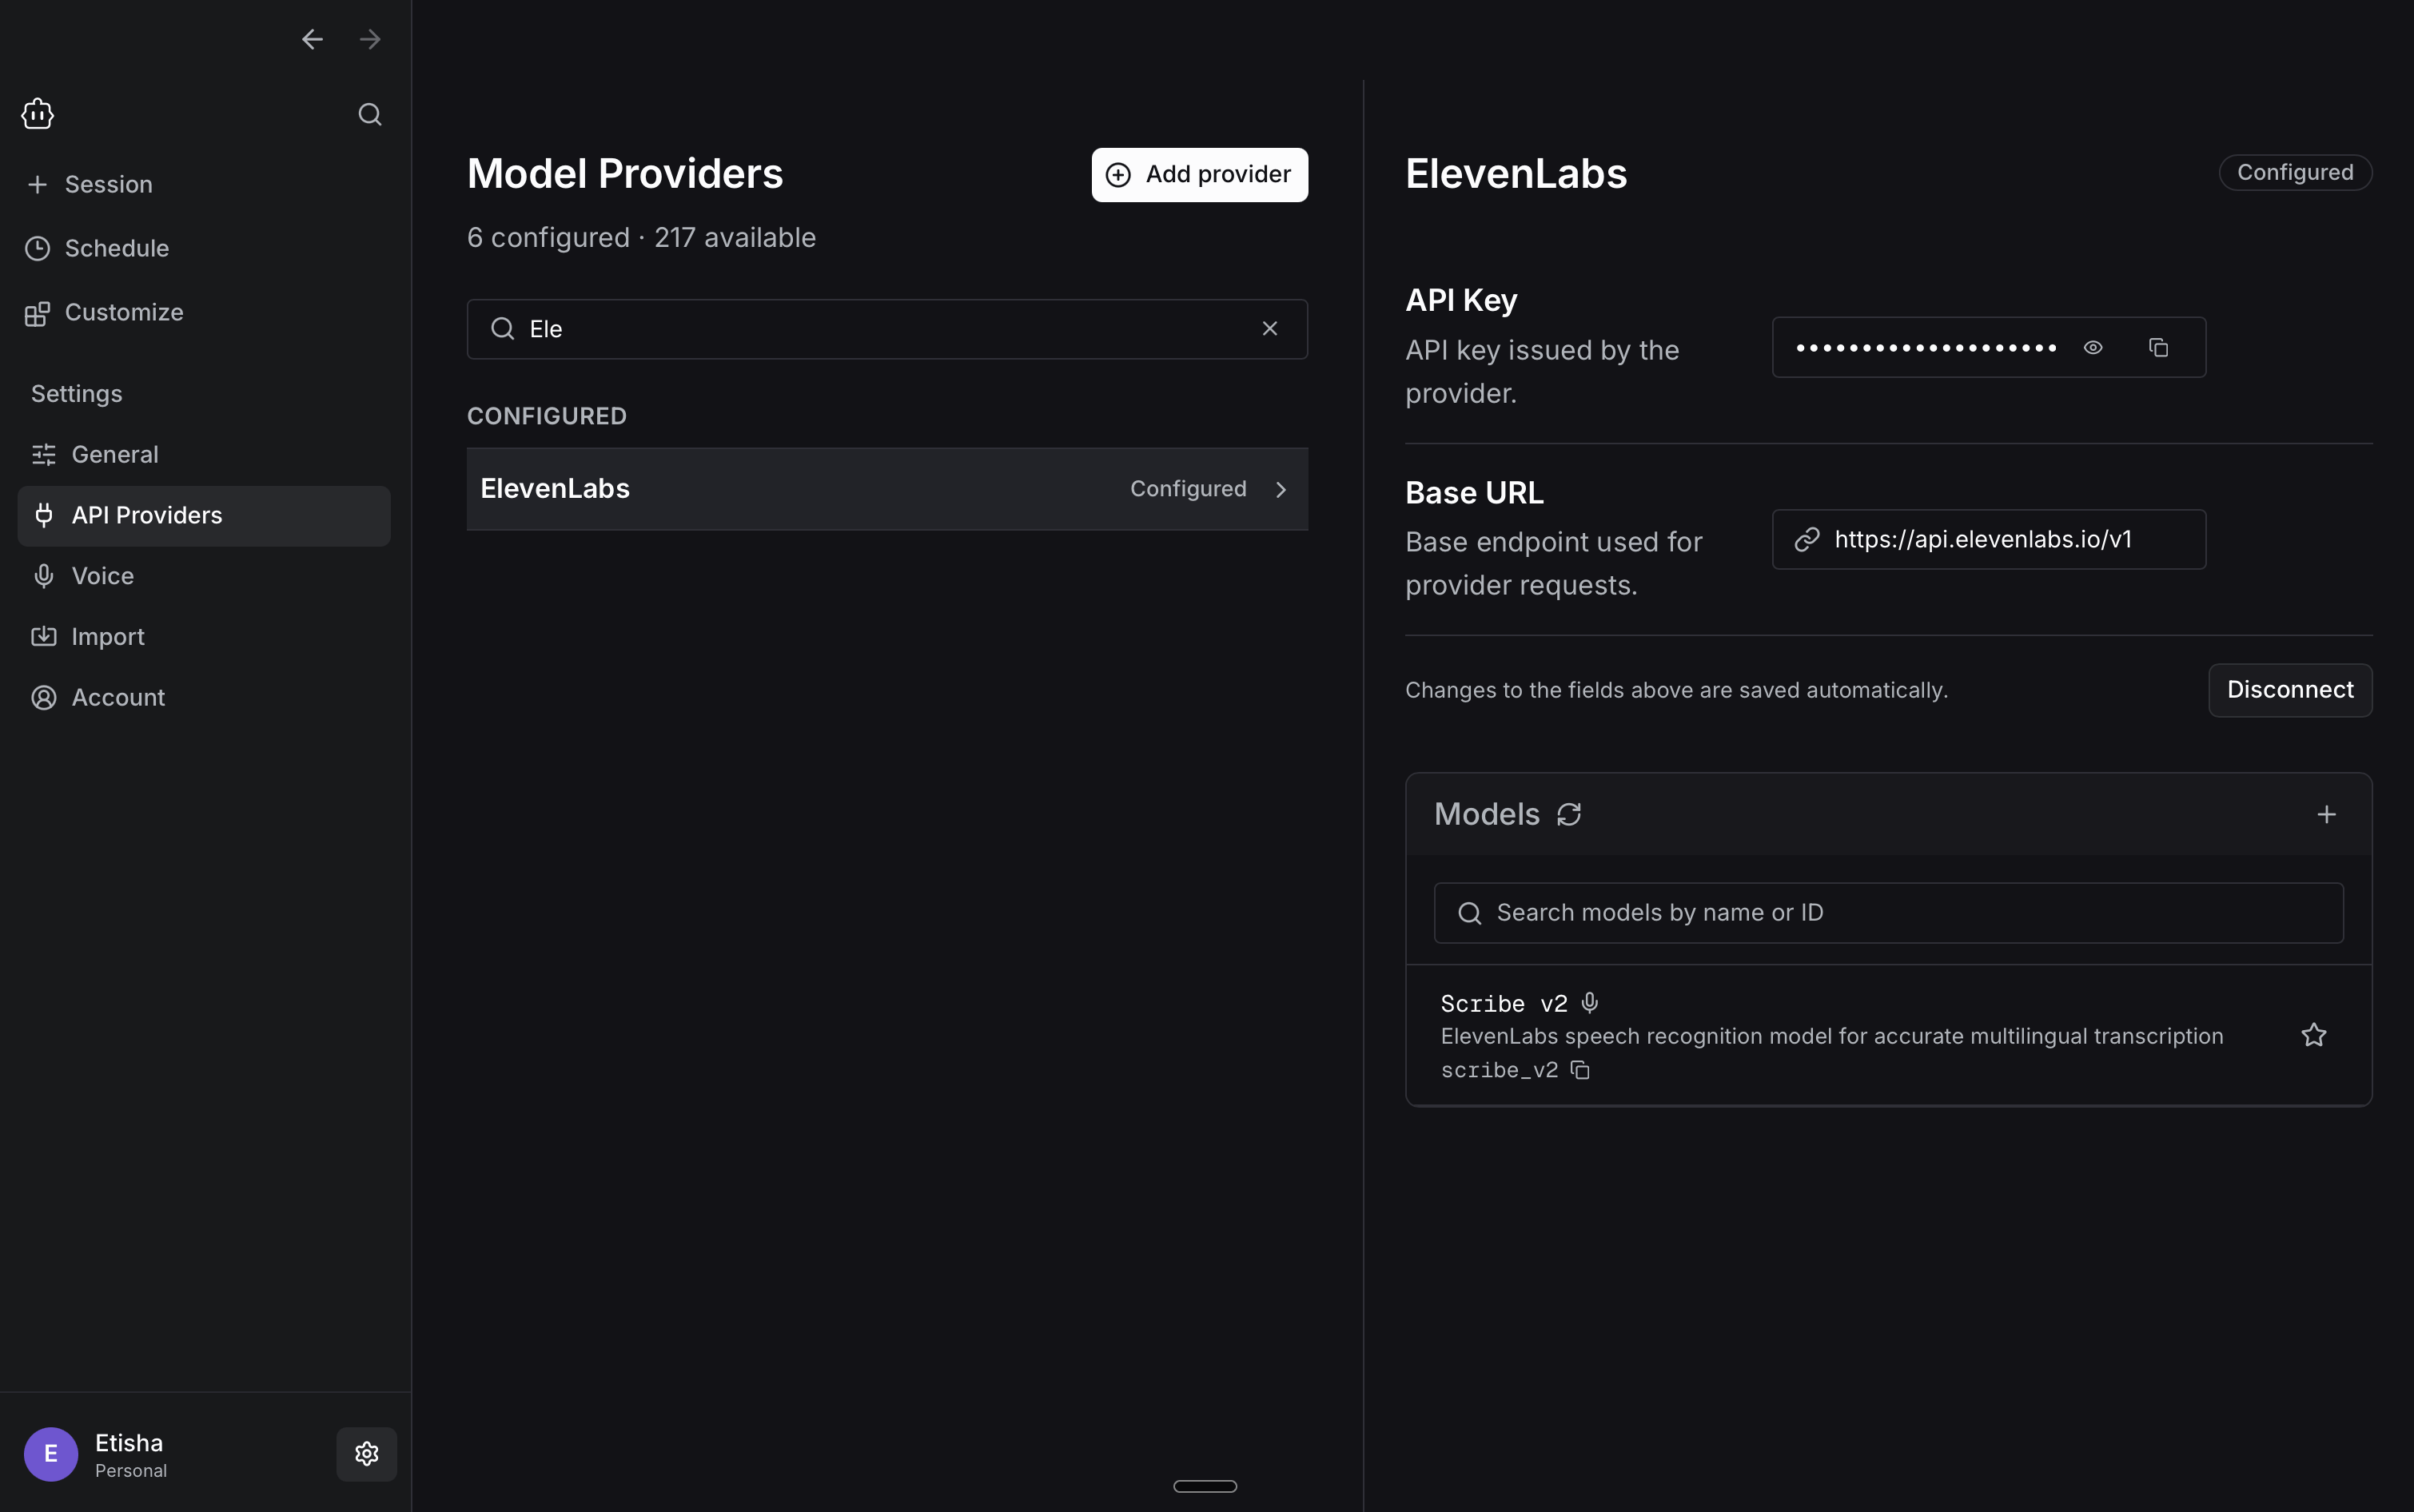
- Choose a provider with a supported transcription model, such as ElevenLabs, and add your API key.
- Return to Voice Input, enable it, and select your provider and transcription model.
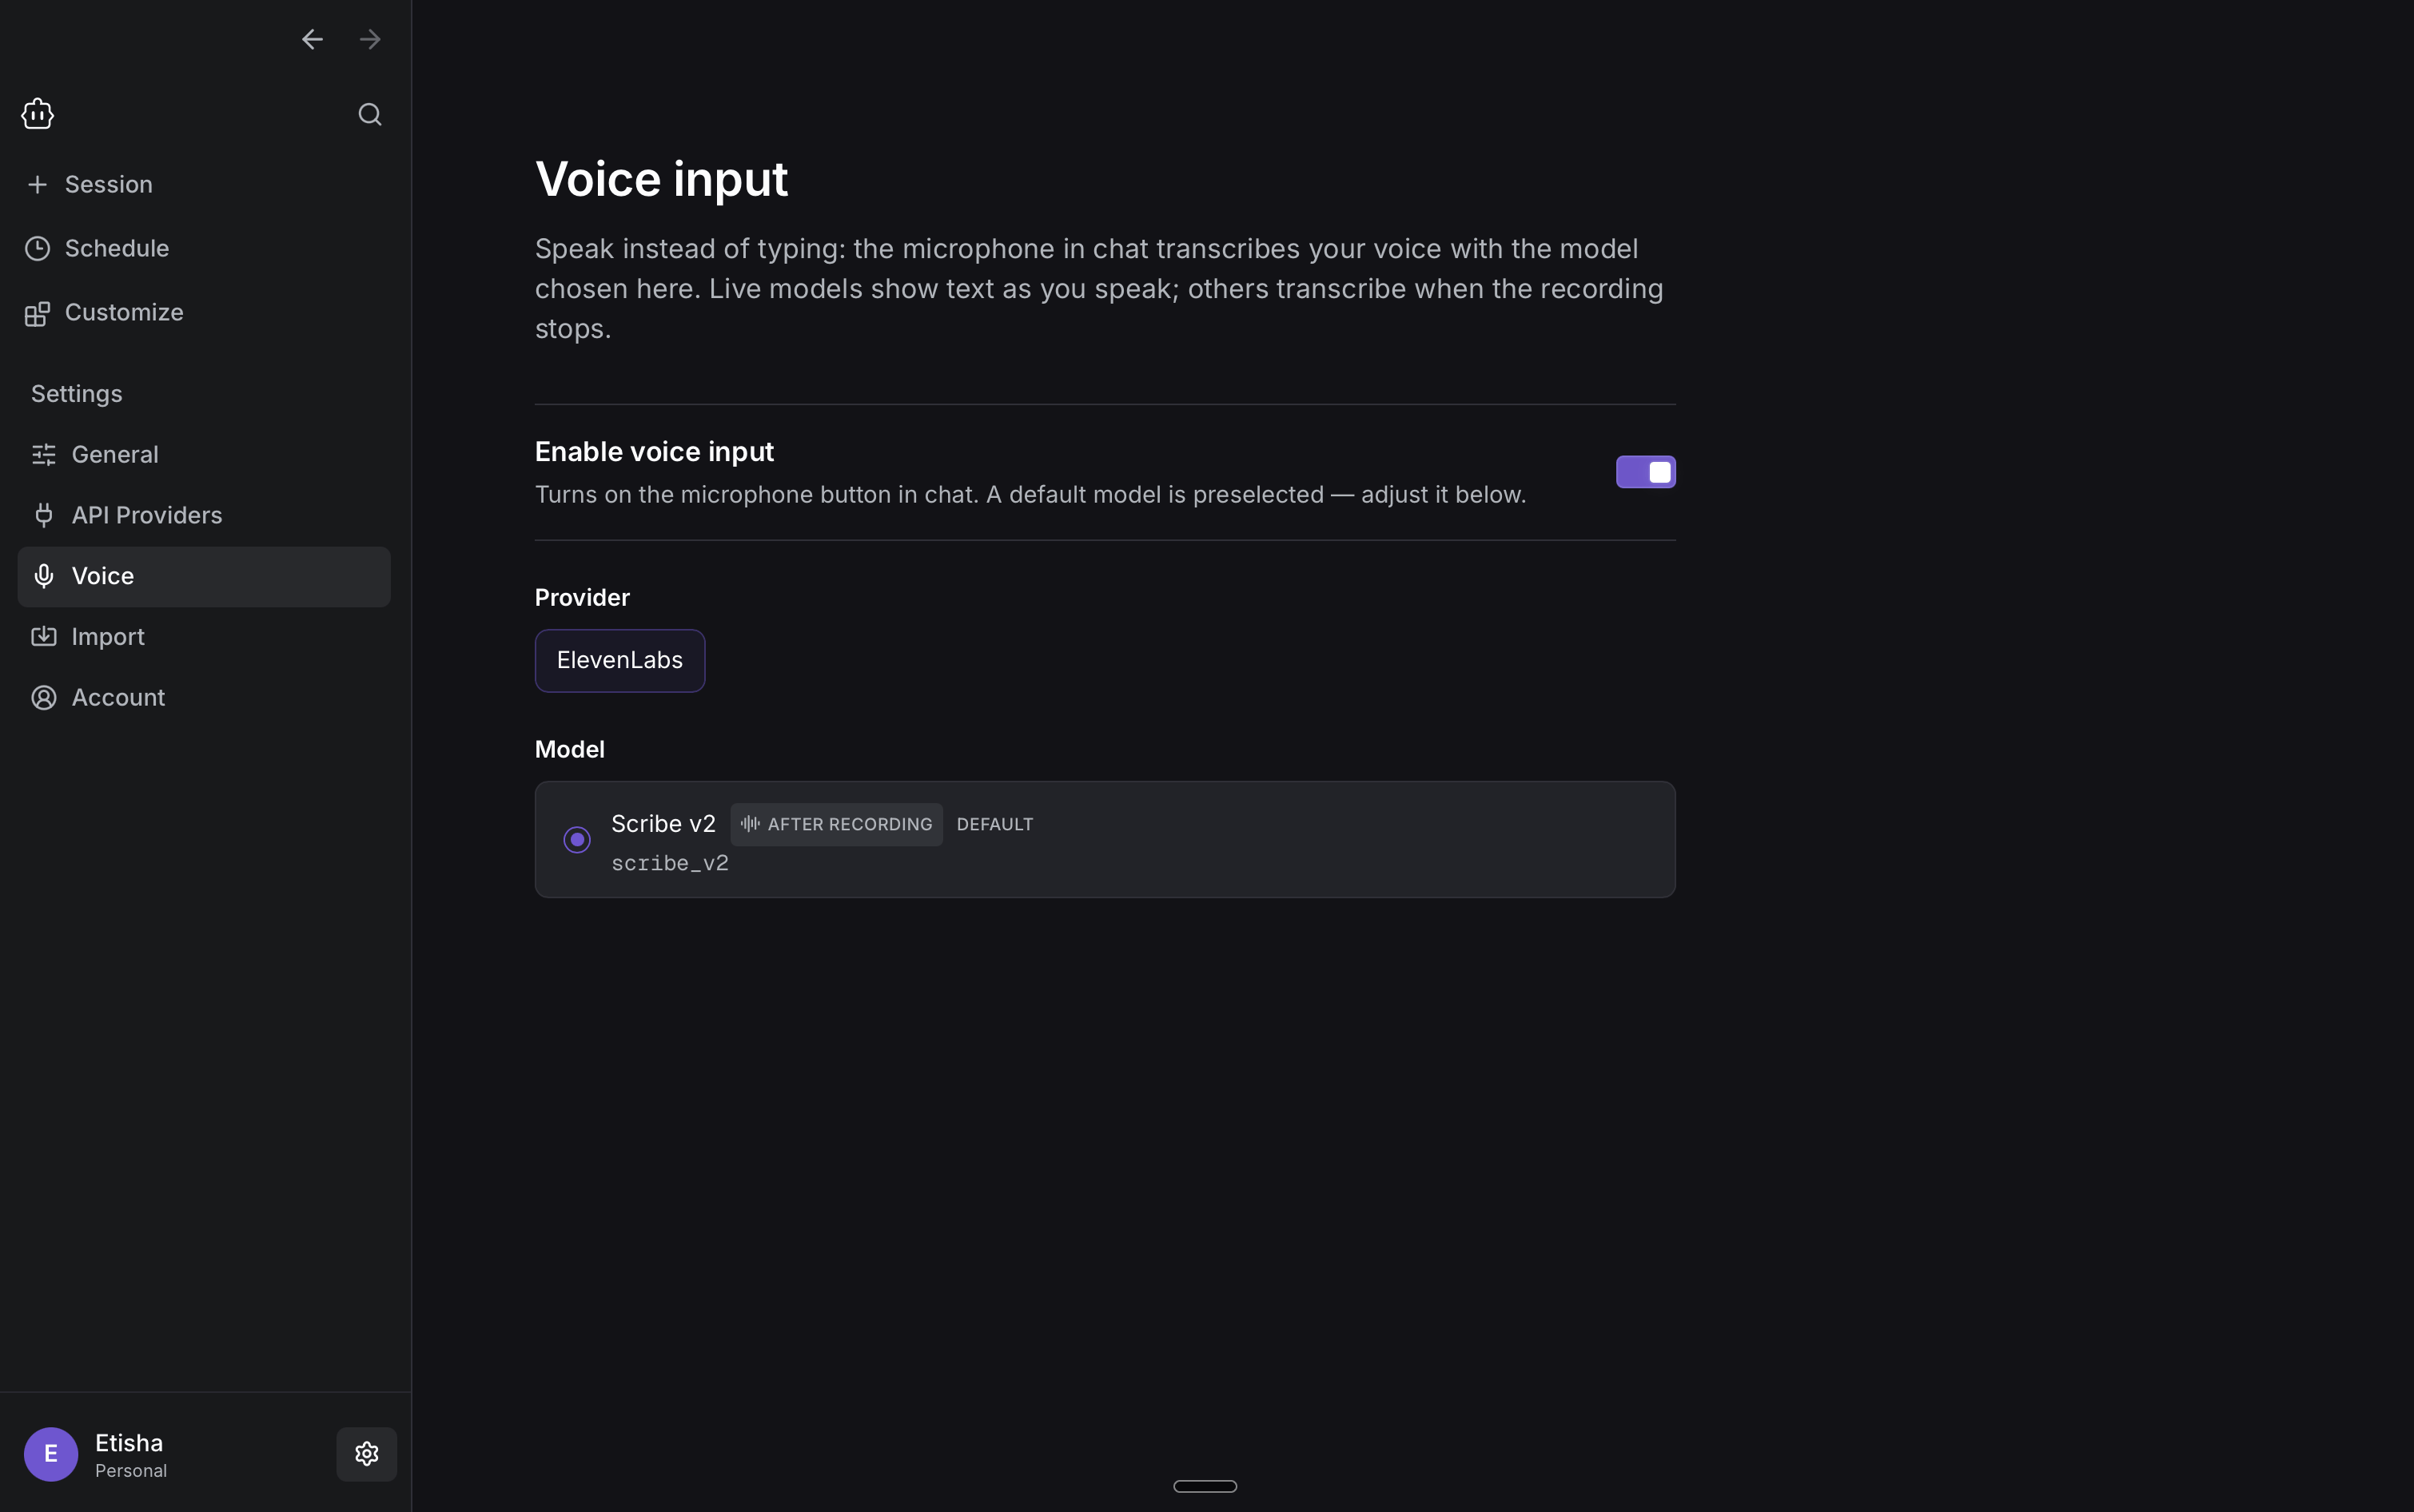
- Once configured, the microphone appears in the chat composer. Select it to start speaking your prompt.
5. Extend and customize Cline
Use Customize → Installed to view and manage the capabilities available to Cline Desktop. The Installed view acts as an inventory for tools, plugins, skills, rules, MCP servers, and hooks. From here, you can inspect what is available, search within each category, and enable or disable supported capabilities.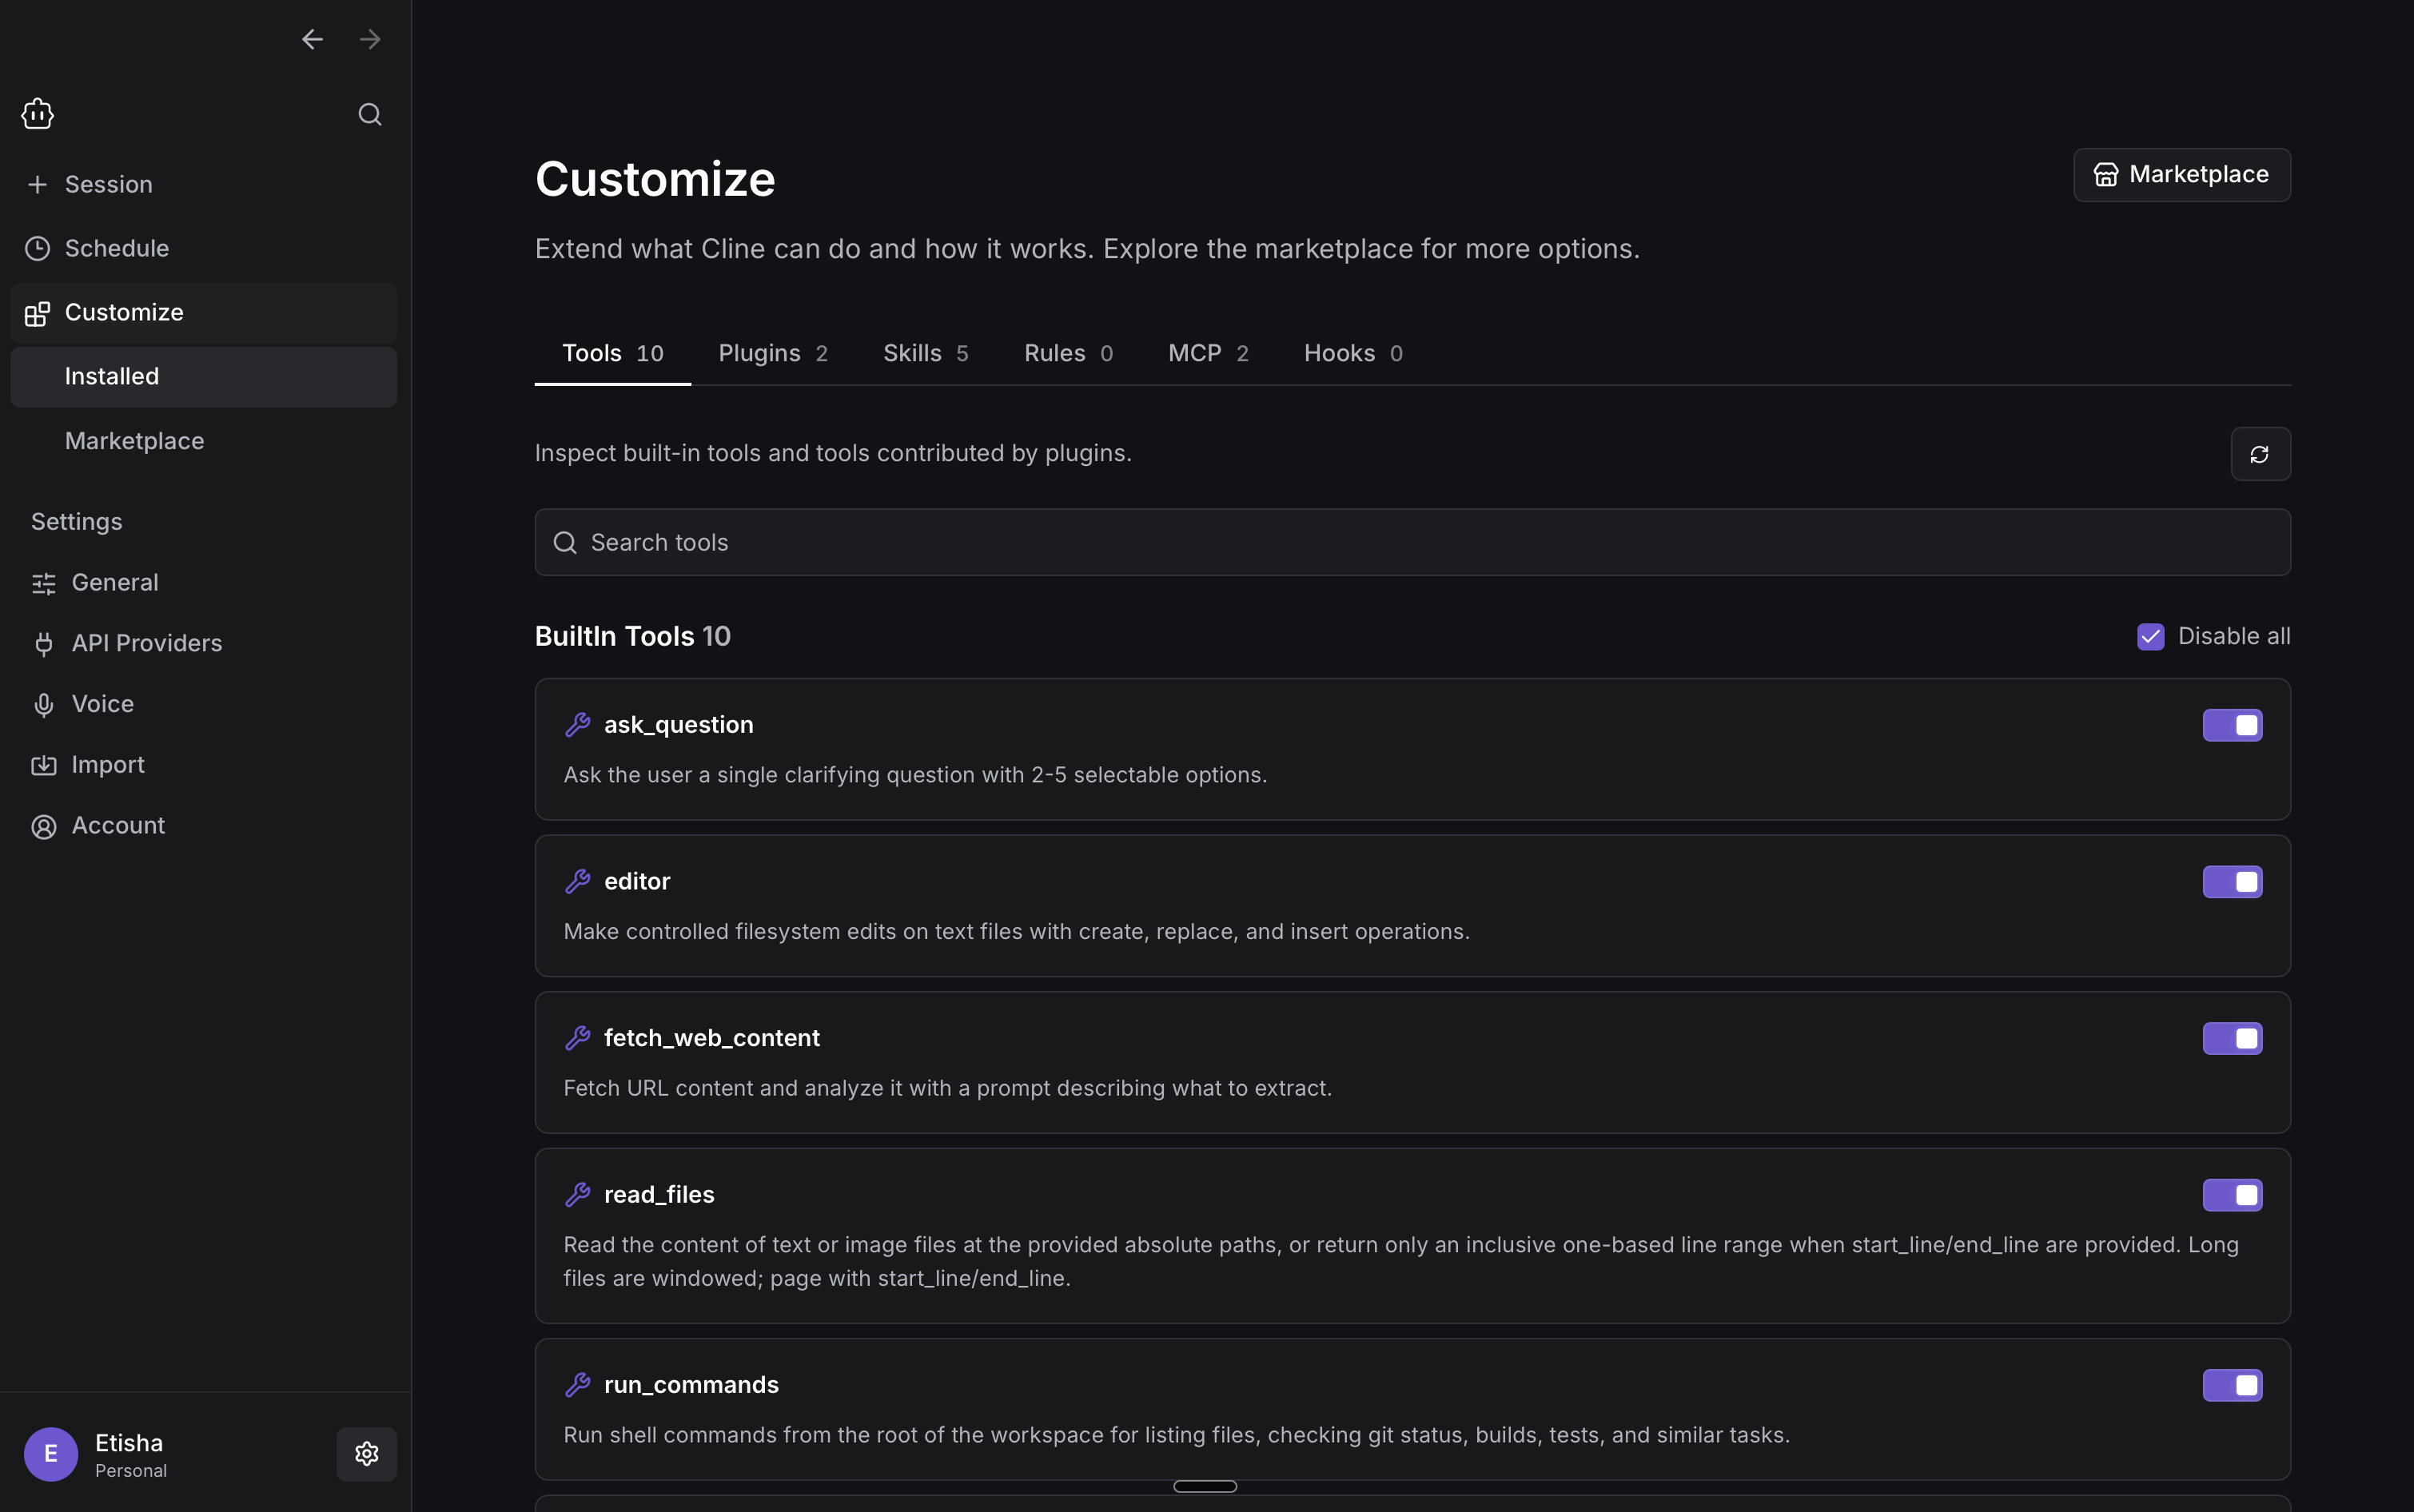
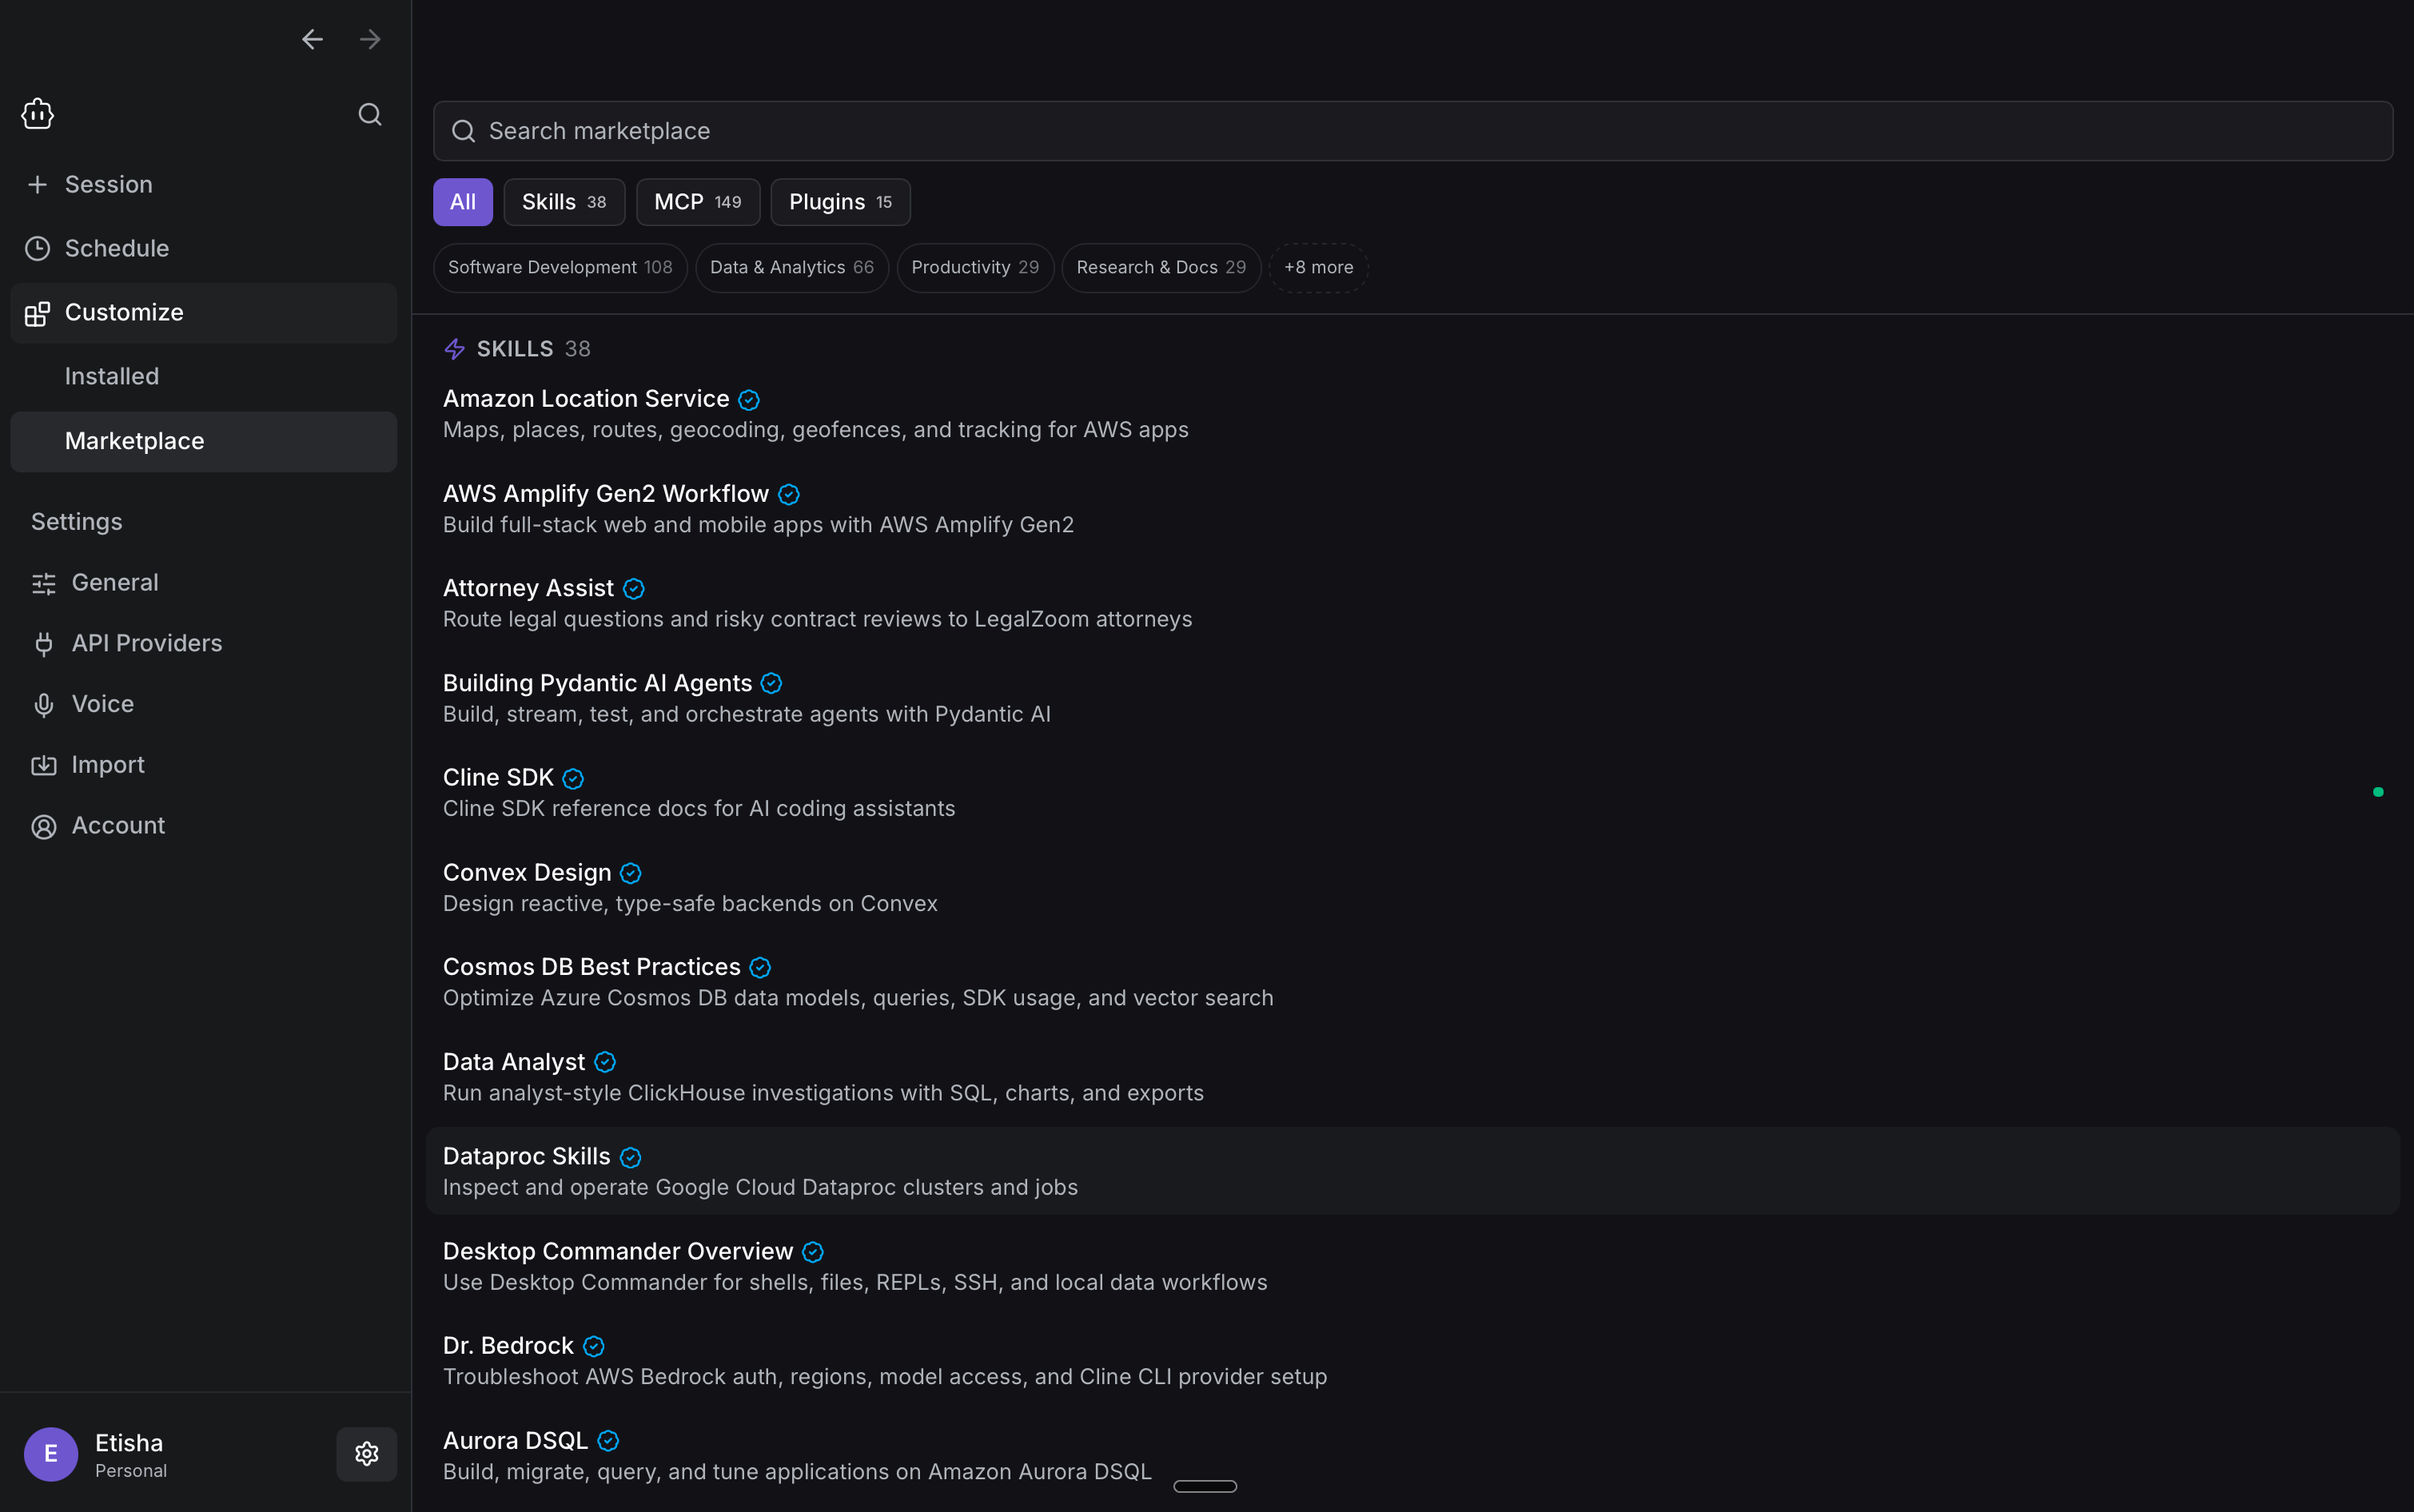
Discover more in Marketplace
Use Marketplace to find and add new capabilities to Cline. You can browse or search across skills, MCP servers, and plugins, and filter by categories such as software development, data and analytics, productivity, research and docs, and more.